6 Tips for home AV cable management
- By: Ashley Saunders | AV receivers, Home audio, Home cinema
- PUBLISHED: 15th November 2022 | LAST UPDATE: 17th May 2023
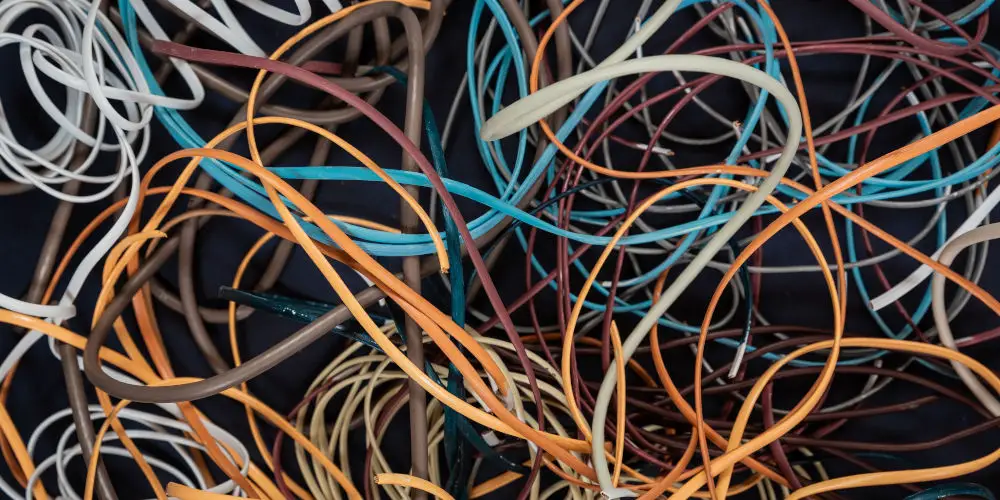
The excitement of building a home cinema can quickly descend into a cable spaghetti! Thankfully, creating a better home AV cable management system is simple with the right tips.
Keeping AV cables neat and tidy isn’t the sexist of topics, nor is it an exciting hobby. Sorry! However, it’s essential to ensure you can quickly find and replace dodgy cables, swap equipment, or deal with unwanted hums.
By investing the time now, your future self will be less stressed! Sad to say, but it’s worth every boring second!
Whether you’re just about to build your home cinema or if you’re trying to regain control of your wires, here are a few tips that will help you implement a better home AV cable management system.
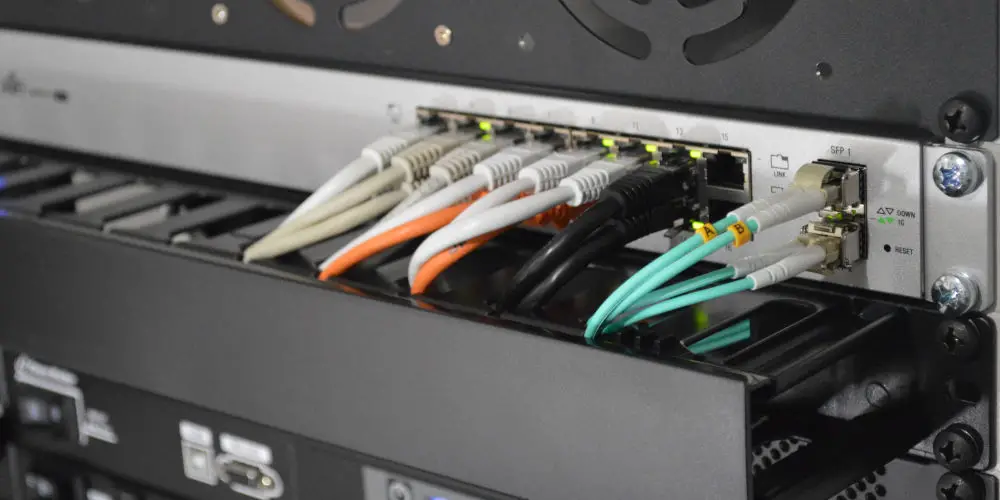
#1 Label everything (and we meant everything!)
If we had a pound for every time someone wasted hours due to a lack of labelling, we’d be sat on a beach sipping on a cocktail! If you label every cable, you can easily identify each one. You’ll be able to quickly swap out a component without losing track of what’s what.
Even if you only have a few components now, it’s still worth labelling every cable. As your system develops, you’ll add more cables. By keeping everything organised and labelled from the start, you remove lots of potential frustrations and make life easier.
There are plenty of options when labelling cables, including RS PRO Clip On Cable Markers and Waterproof Self-Adhesive Cable Label Stickers. So you’re not stuck for options and have little excuse not to label your cables!
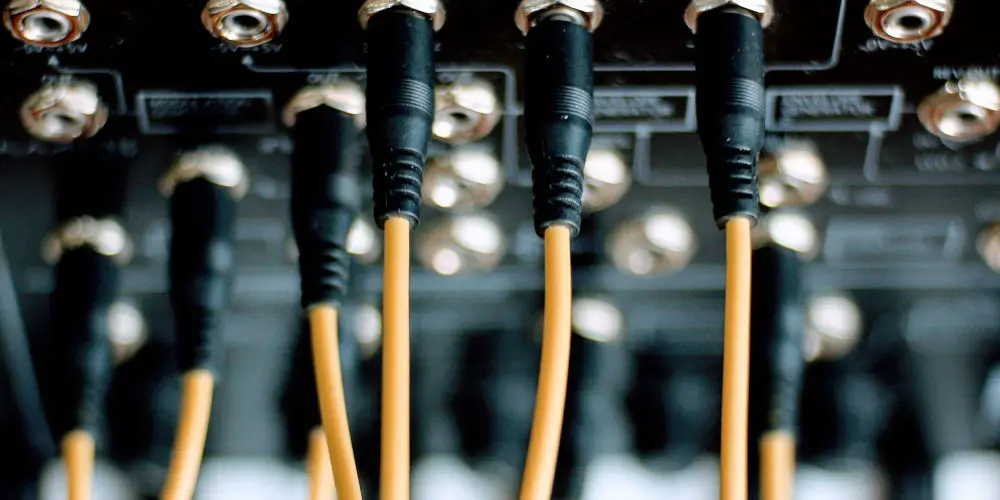
#2 Keep power cables separate from audio and video cables
You want to keep your power cables separate from your low-voltage audio and video cables. Sounds simple, but manufacturers are yet to collectively agree on which side of equipment the power cable or socket should be.
You might be lucky and only have equipment with power cables and sockets on the left. However, you could be unlucky and have a black sheep that different from the rest. Don’t worry.
If you’re wondering why we’re suggesting doing this, the reasoning is quite simple. Low-voltage cables are more susceptible to interference from the 50Hz power that operates your AV equipment. If you notice a hum with your AV equipment, it’s likely an interference issue.
So pick a side. Good cable management means routing power cables to one side. Ideally, try and run power cables between your stacked gear so that the device on top and the device from below can share a channel.
When possible, run power cables closer to the equipment and elevate the audio and video cables, so they are kept far apart and well spaced.
Create nice right angles when organising cabling. Any diagonals or any cables running overtop the back of equipment will only lead to headaches later on.
#3 Use wire ties to bundle cables
If you have several cables running to or from your TV, cable box, or receiver, you should bundle them with Velcro cable ties. We recommend Velcro cable ties over plastics as they are reusable, last forever, and aren’t harmful to the environment.
Here are 3 tips for using ties effectively:
- After routing and connecting cables, bundle at one end. You’ll find they are easier to handle.
- Don’t cinch the ties too tight. They can crimp the wires and damage their insulation.
- Bundle A/V cables and power cables separately.
#4 Organise cables behind your equipment rack
If you have enough equipment to merit using an AV rack or cabinet, you’ll know the wiring situation behind it can easily descend into chaos. Without a proper home AV cable management system, you’ll find it very frustrating.
Bring the mass of wires by bundling cables together with Velcro ties and adhesive cable clips. Bundle power cables and A/V cables separately to minimise the chance of electromagnetic interference that will affect your system’s performance.
#5 Secure loose wires to rear surround speakers
With a surround sound system, you’ll have rear speakers and maybe even side speakers. It’s a good idea to secure these and any cables to ensure you don’t step on them or trip over them.
We don’t recommend running wires under carpeting. If wires are continually stepped on, over time their insulation can get rubbed away, leaving the bare wire exposed.
So, it’s best to run rear speaker cables along the baseboard. You can either use wire tacks or use cable trunking for a more seamless finish.
#6 Remove unused cabling
Keeping cables tidy over the years is a tricky task. So it’s worth auditing what cables you’re using once a year and removing any that have outgrown their usefulness.
You might have had a Blu-ray player, Chromecast, and cables for a games console, but have just upgraded your AV receiver to a unit with a built-in streaming dongle. So getting rid of cables will free up space and ensure what’s left is in good shape and correctly bungled together.
BONUS: Take your time when creating a home AV cable management system!
Our final home AV cable management tip is to take your time. It’s easy to get swept in the excitement of new AV equipment and rust to get it installed. Sadly, you could be creating future problems, especially if you’re installing multiple new pieces of equipment at once.
By taking your time when creating a home AV cable management system, you can reduce the number of future headaches and ensure your home cinema system works properly now and in the years to come.