How to easily turn off Google Assistant

- By: Gabrielle Toanone | Google Home
- PUBLISHED: 21st September 2021 | LAST UPDATE: 23rd November 2021
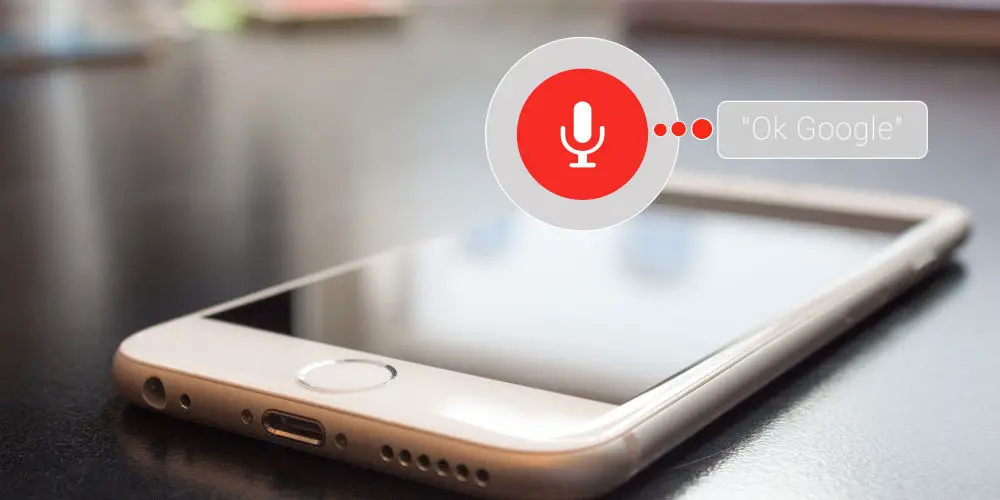
Have you had enough and need to figure out how to turn off Google Assistant? Even though Google Assistant is an amazing tool and resource when used properly, it can also get a bit annoying – especially if the “Ok, Google” command activation is working as it should.
Another concern that you and others may have are related to privacy, which is particularly true for those who have Google Assistant on their smartphone by default, not choice.
Even though AI can be great, there are certainly many different reasons for wanting to take a break or use your device without its help. However, turning off Google Assistant does require a bit of knowledge and a few easy steps.
Because this AI tool is typically automatically installed on your device, it cannot easily be removed. Rather, it must be disabled. Here is what you need to know if you want to turn off Google Assistant.
Why turn off Google Assistant?
Those who use Google Assistant know that it offers many great features and functions. Essentially, we use it to make our lives easier and automate as many processes throughout our day as possible. As a result, Google Assistant helps by:
- Setting timers, reminders, and alarms
- Accessing calendar events and other types of personal information
- Searches online for desired information requested – weather, news, directions, store hours, etc.
- Controls smart homes systems, lighting and other types of devices
- Opens apps
- Provides real-time translations
- Controls music players
- And so much more
There are a few reasons that many decided to turn off their Google Assistant. The first, and often most important, is that Google Assistant requires a lot of access to your personal data and information.
Do you want Google to remind you of an important event? Well, then you need to give it access to your calendar, and if you want it to tell you when to leave, that requires access to your location.
For some, they simply do not want to share their personal information as openly as the Assistant requires. Plus, some already feel that Google has enough access to their data already.
Another issue many are mindful of, is that Google Assistant really only works well if it has access to just about everything. Other than data, some would just rather not deal with hearing the device or interacting with it, which is totally understandable.

How to turn off Google Assistant
So, you’ve made the decision, and it is time to take a break, or break up with your Google Assistant. No need to worry or stress! The good news is that the AI assistant is fairly easy to turn off.
The hardest part is finding the menu to turn off Google Assistant, which Google inconveniently tucked away deep in the settings. Here are the step-by-step instructions you should follow to turn off Google Assistant for your devices:
- Turn on your smartphone or tablet and launch the Google App
- Next, tap on the menu icon (this can be found by the button that has three little dots). You should see it at the bottom right corner of the screen.
- After opening the menu, you should open up the settings (it is usually the fifth option on the menu).
- Once in settings, you will want to navigate to the Google Assistant section of the menu.
- Next, scroll down and look for the option labelled General. It should read, “Manage general settings for your assistant.”
- After selecting General, you can toggle Google Assistant off by tapping the slider next to the Google Assistant option. This button will read, “Your assistant helps answer your questions and get things done.”
- After You have tapped the Turn Offslider, you will have to confirm your action. A text box will appear letting you know that your device will no longer respond if you say, “Hey Google.” Also, ambient mode and snapshot are unavailable, but you can access and delete your history at the link provided in the prompt.
Another option to disable Google Assistant
Just in case you like options, here is another way to power down your Google Assistant. To turn off Google Assistant this way, you will have to open the app one last time. Here is how you can deactivate Google Assistant through the app:
- Tap and hold the Home button on your device.
- When the Google Assistant appears, you can tap on the icon shaped like a box in the bottom left corner of the screen.
- Now, you want to tap on the profile icon in the top right corner of the screen.
- After opening your profile, a menu will appear. From that menu, you want to select General, which allows you to manage the settings for your Google Assistant.
- Next, simply tap on the slider switch next to Google Assistant to disable the service and actions – and you’re done!
What if I want to turn Google Assistant back on?
The great thing about Google Assistant is that it is very easy to turn off and on. Maybe after spending some time away from the AI assistant, you have decided that you require its help and services again. Luckily, all that you have to do is repeat either of the step-by-step instructions above.
Once you have reached the Google Assistant slider switch, simply switch Google Assistant back to the on position. While you may have to restate some settings regarding privacy and such, your Google Assistant will once again be fully operational!

Using AI to your advantage
It doesn’t matter why you want to disable Google Assistant. The most important thing is that you feel your devices are working for you! It’s easy to feel controlled by technology and sometimes the best remedy is time away from it.
If you are more comfortable without the assistance of an AI, then so be it. Luckily, with Google’s smartphones and devices, it is easy to turn the Google Assistant on and off at your discretion.
Should the Google Assistant stop working then you’ll want to follow our 7 simple fixes and try this advice before binning your device.