Home cinema acoustics: Design the best sounding room
- By: Ashley Saunders | Home cinema
- PUBLISHED: 6th April 2020 | LAST UPDATE: 24th April 2023
Creating an immersive movie-watching experience at home is more than equipment choices or cool furniture. While both elements are crucial, equally important are home cinema acoustics.
One of the many reasons we enjoy visiting the local cinema is the sound. Dialogue is crystal clear, every musical note is faithfully reproduced and ambient sounds draw your future into the storyline.
This isn’t an accident. But a result of clever acoustic design. The room uses acoustic treatments to balance the frequencies and optimized speaker placement to distribute sound.
Simply using a 5.1 AV receiver with multiple speakers in your home cinema is only a part of the equation. You also need to optimise the room and their placement.
By taking some simple steps, you can ensure when you build a home cinema, that it has the best acoustics, so that you can enjoy movies exactly as the director intended. Here are some of the home cinema acoustics you should consider adding to your room.
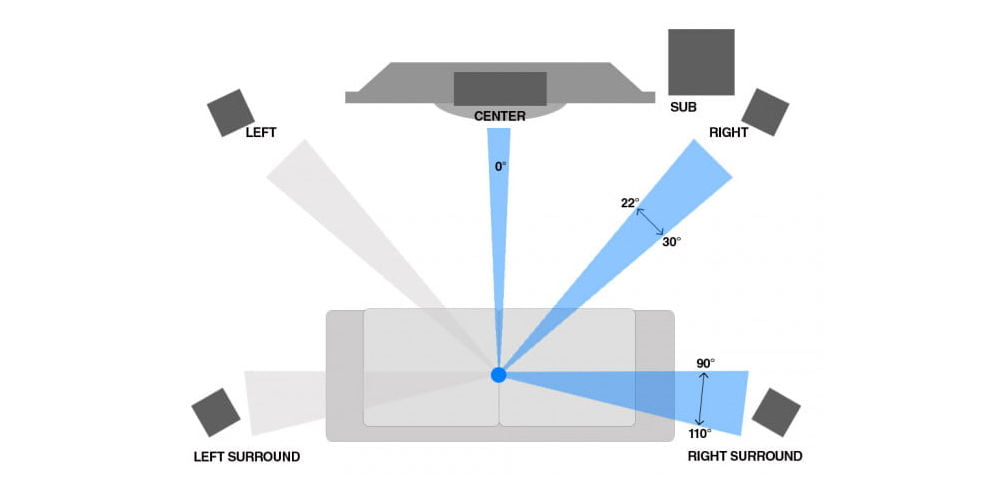
photo by digitaltrends
What’s the optimum speaker placement?
As most home cinemas are built using a 5.1 channel surround sound system with 5 speakers and a subwoofer, we’ll be focusing on this configuration.
While there is some science involved in speaker placement and acoustic treatment, there is also a degree of give and take. If it doesn’t sound quite right, experiment until you’re happy.
General principals of speaker placement
Firstly, ensure speakers are at least 60 cm from walls, corners and large pieces of furniture. This helps to effectively produce mid-range and mid-bass frequencies.
Speakers are generally designed so that they produce their optimum sound when they’re level with the listener’s ear. Where possible, use the high-quality speaker wire and keep cable lengths short.
Centre speaker
Used to reproduce dialogue, the centre speaker should be position in the centre of the screen and as close to ear height as possible. This will give the impression that the dialogue is coming from the actor’s mouth!
Front Left and right speakers
Reproducing sound effects and the film score, these speakers produce the main stereo image. They should be placed at 30-degree angles to the centre speaker.
The left, right and centre speakers should be equal distance from the listener to ensure proper blending.
Rear left and right speakers
These speakers recreate ambient background noise. These should be placed at 110-degrees of the listening position. While you can position them at ear level, by placing them 50 cm higher, you create a sense of spaciousness.
Subwoofer
Finally, the subwoofer, which requires some trial and error to find the optimum placement.
Don’t automatically place it in the corner as this can amplify the low frequencies too much, creating an unbalanced sound. If you’re hearing too much bass wit the sub in the corner, experiment with a different placement.
Ideally, you’d place your subwoofer around 30 cm from the wall as this will allow sufficient airflow from the port.
If in doubt, crawl! Play some bass-heavy music, crawl around on all fours. Listen to how the bass responses at different points within the room. Listen for where the frequencies sound balanced. This is a good place for your subwoofer.
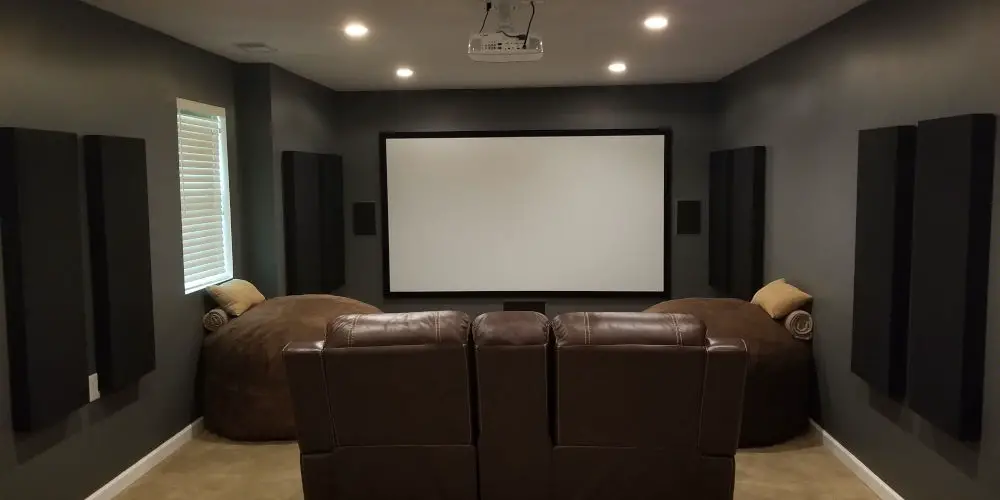
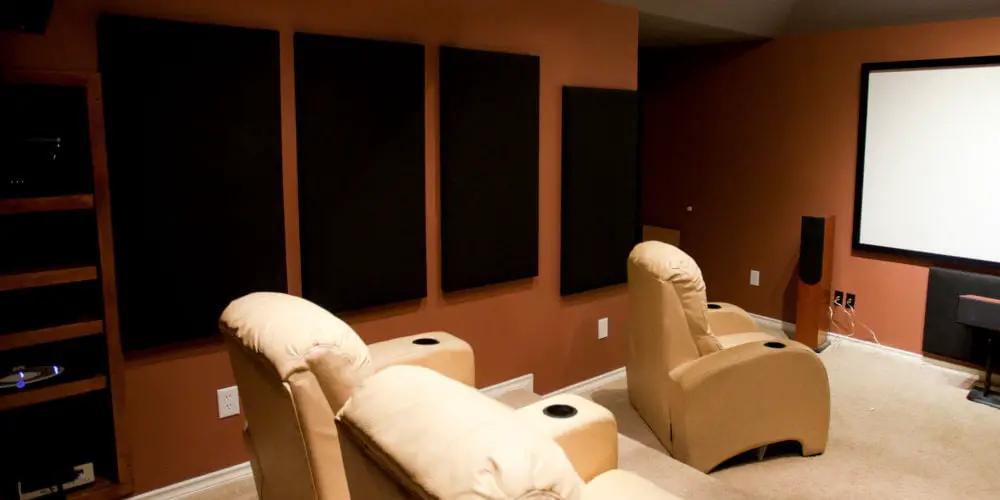
photo via imgur
Effective acoustic treatment
The other part of home cinema acoustics is treating your room. Most rooms have little or none absorptive materials. Echoes bounce off walls, causing sounds to blend creating a muddy sound scape. That said, a room with too much absorption will sound dull and flat.
So it’s important to find a balance and create a space which sounds balanced across all frequencies. Thankfully, it’s quite easy to build your own acoustic panels.
Each frequency travels at a different speed, so while you might assume they all hit your ear as one uniform sound wave, this isn’t correct. Add different reflective surfaces such as walls, floor, windows and ceiling, all of which impact frequencies differently and you end up with a compromised listening experience.
General tips
- Aim to have absorption on around 60% of your room’s surfaces.
- Treat larger areas rather than precise reflection points as this will benefit a range of listening positions.
- Leave some natural reverberation but aim to kill any echoes (test by standing near a speaker and clap!).
Identifying reflection points – mirror technique
Using a mirror, a friend and some patience, you can identify reflection points. With the speakers in position, one of you should sit and the other should move the mirror parallel along the side wall. Each time you see the reflection of a speaker, mark the spot. Repeat until you’ve covered all five speakers on all four walls.
Walls (side and rear) and ceiling
Using your home-made acoustic panels, treat any reflection points on the walls and ceiling.
Hard floors
Wood flooring might look aesthetically pleasing but is highly reflective. Luckily, a thick rug will help to stop any reflections.
Windows
Reflection points on widows can be treated with drapes. Ideally, you’d use a highly porous, thick fabric.
Front wall
Speakers push the surrounding air to transmit their sound. While most of the energy is forced through the front, the side and rear still produce some sound. This is more noticeable on lower frequencies which have a longer waveform, than on higher frequencies.
So, it’s worth taking a slightly different approach with the front wall. While it is fairly common to treat the whole surface with at least 100 mm of acoustic glasswool, this might not be possible. If not, use a series of thick absorber placed at speaker height that covers the majority of the wall.
Trap That Bass!
Corners are well known for high-pressure build-up of low frequencies. These nodes often distort at 300 Hz and below, causing an unnatural bass response.
Bass traps help to control the build-up of low-frequency energy. They should be at least 15 cm thick and be placed where the floor meets the wall and where the ceiling meets the wall.
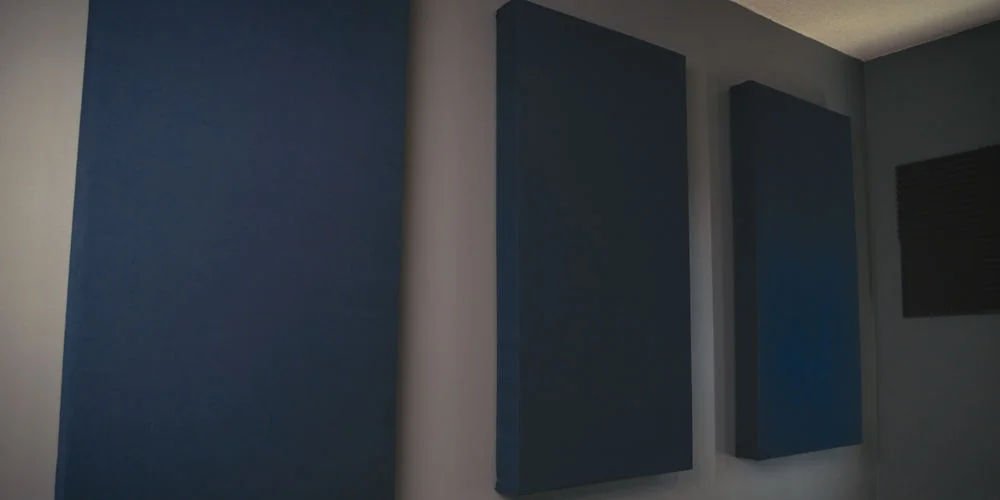
photo via Instructables
Optimising home cinema acoustics
An effective home cinema sounds fantastic, regardless of where you sit. However, it does take some work to fine-tune the room and achieve the best home cinema acoustics.
Start with speakers, make sure you experiment with their position. Try different heights, positions and angles. As you experiment, try sitting in different seats and see how each place sounds. You won’t be able to make each seat sound equal, but you may be able to tweak speaker placement to improve it.
Remember, it’s always a trade-off. So, look for a happy medium where all seats have superb sound rather than optimising for one or two.
Next, treat your room to remove most of the reflections by using DIY acoustic panels, heavy fabrics and bass traps. Your room should provide a consistent frequency response across the spectrum.
When your home cinema acoustics are sorted, you’ll find watching movies even more immersive and enjoyable!