What are Z-Wave Groups, Scenes and Associations?
- By: Ashley Saunders | Z-Wave
- PUBLISHED: 11th June 2023 | LAST UPDATE: 9th June 2023
Z-Wave is one of the most versatile home automation technologies available today. It offers more than simply providing wireless control of devices. We haven’t explored Z-Wave Group, Scenes, and Associations yet these are important features.
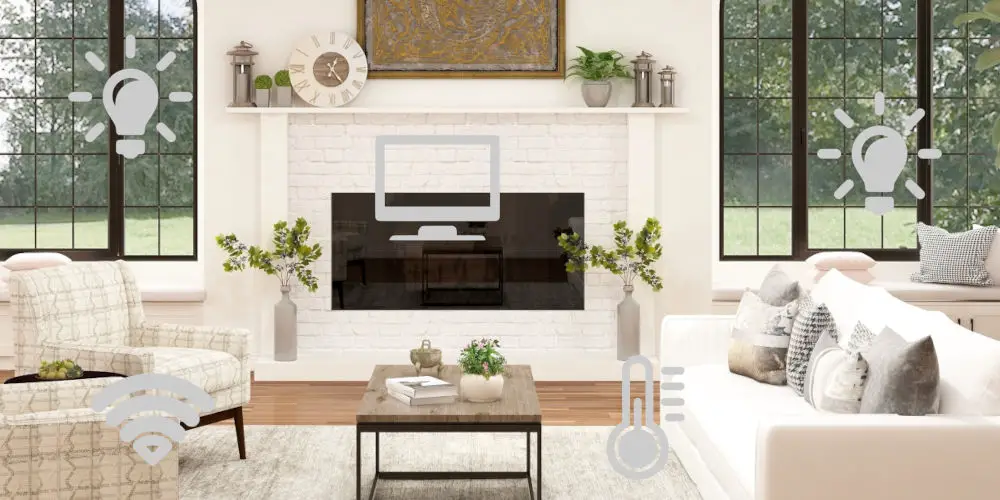
Most people start their home automation journey by controlling a single device using an app. You might have started with a smart bulb or dimmer and quickly added more devices allowing remote control over the lights, heating, and blinds.
After being comfortable controlling individual devices, you’ll want to create Groups, Scenes, and Events. These allow you to control multiple devices at once or operate your system based on conditional logic. Using these features, you can create a sophisticated smart home.
In this article, we’ll cover Z-Wave Groups, Scenes, and Associations, and help you take the next step toward building your dream smart home system.
What are Z-Wave Groups, Scenes, and Events?
Let’s start by defining the basic terms and how they relate to Z-Wave home automation.
Groups
You can control a collection of individual devices as a group. For example, you can group your lights into a single on/off switch. Pushing this button turns them all on or off.
Scenes
Use a single button to send different commands to different devices, making several different things happen at once. For example, a movie scene that dims the lights, lowers the blinds, and turns on the TV.
Events
Something that triggers a Group or Scene to run without someone pushing a button. For example, when you open the bathroom door, a motion detector senses movement and turns the light on for 15 minutes.
It sounds complicated, but is it?
There’s a difference between devices being sophisticated and complicated. With sophisticated automations, you can still understand what is happening and be able to explain it to a 6-year-old. Whereas with a complicated device, you’ll always need the manual to operate it.
You’ll find Z-Wav controllers such as the Fibaro Home Center 3 or Athom Homey Pro allow flexible control over smart devices in your home, allowing you to build a sophisticated system you can operate remotely or works automatically based on logic.
To get the best from your Z-Wave automation system, you’ll want to understand Associations, Groups and Scenes, and know how to use them.
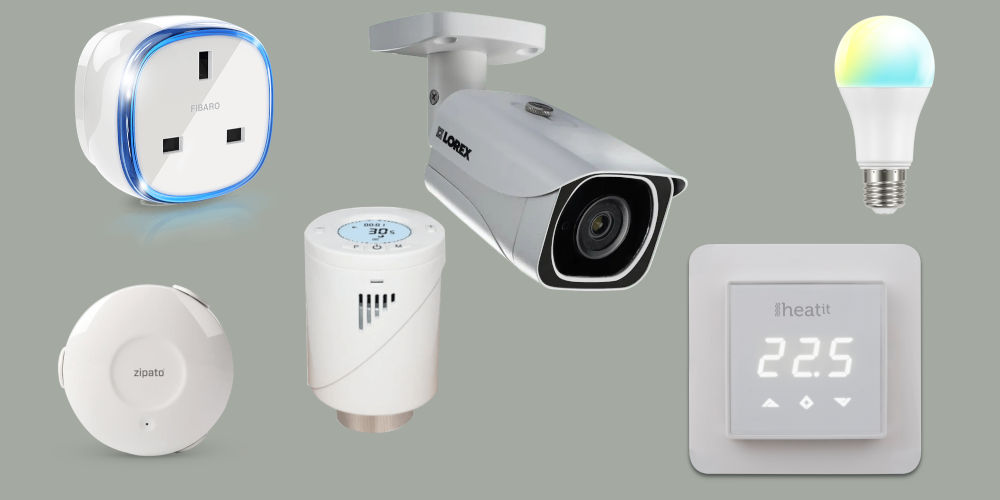
photos of various Z-Wave devices
What are Associations
You’re hopefully comfortable with the Inclusion function on a Z-Wave device. This function authorises the device to be included into the network, allowing it to communicate with other network devices.
The Association function is different to the Inclusion function. This function “associates” two devices together, enabling them to communicate directly without needing a central controller. Most smart devices have a button that sets the device to Inclusion/Association mode.
Controllers and Slaves
In a typical Z-Wave network, you have Controllers (devices that control other devices) and Slaves (devices that are controlled by other devices).
A Controller communicates with Slaves in two ways:
- Send commands to change the status of the slave device – turn them On or Off, or adjust a feature
- Receive status information from the slave – movement from a motion detector
It’s also possible for Slaves to communicate directly amongst themselves without needing or passing messages between a network controller.
An example of Associations
Imagine you have a power switch and motion detector in your Z-Wave network, both of these devices are Slaves. Let’s say you want to turn on the power switch when movement is detected.
You could configure the system so the motion detector sends a signal to the controller. The controller then sends a command to the power switch. However, you have 2 steps in the process and multiple devices, so more things could go wrong or be slow to react.
We can associate the motion detector with the power switch. It can then send a signal directly to the power switch without involving the controller. It’s a much simpler way of achieving our desired outcome.
To use an association, the sending node (motion detector) must know of a valid route to the destination (the power switch). It needs to understand network routing to other devices.
So, only a routing slave or a controller can use associations. A normal slave doesn’t have any information about routes and can only send signals as an answer to received commands (from a controller).
To set an association, the sender needs to learn the Node ID and Receiving Node ID of all devices that will be associated. These pieces of information are included in Node Information Frames and are sent across the network.
We have two different ways to associate devices: Direct and Assigned.
Direct Association
As the simplest form of associating Z-Wave devices, the Source node of the association is configured to association set mode. It can ‘listen’ for node information frames from other network devices.
The ‘Target node’ sends its node information. Typically, this happens by pressing a button on the device. This node information received by the Source node contains the Node ID of the Target node (device) and allows it to set the association.
As the node information frame is always broadcasted to all nodes “in range”, a direct association only works if both sender and target are “in range”. So, they must have a direct, not routed wireless connection established.
If one of the devices is moved “out of range”, the association is broken.
Assigned Association
Assigned associations allow you to connect two Z-Wave devices that are not “in range”. We do this with the help of a third node (Connecting Controller), a controller with knowledge of the complete network and its routes, is needed.
With the Connecting Controller set to “association mode”, it now expects (1) a node information frame from the desired source and a second step (2) a node information frame from the desired target node.
Again the node Information frame can only be received by nodes in range. So, the controller needs to be brought in direct wireless range of the two nodes, but not at once.
First, you need to place the Connecting Controller near the Source node and set it to “association mode” allowing it to receive the node information frame from the Source node.
Next, place the device near the Target node to receive that node information frame. The controller can now communicate with the Source node, providing node information about the Target node and the correct routing.
As the controller knows the route to the target node, you don’t need to move the controller closer and back in range to perform the final configuration. With the association set and the communication between the source and target nodes is routed through the network.
A single source node can be associated with multiple target nodes. Any commands sent from the source node are received by all target nodes at once. So is ideal for home security applications where a detector, after being triggered, sends an alert to several different devices at once.
It’s also possible to have multiple different events that send commands to different nodes. While this might sound complicated, it’s easily configured by assigning different target nodes to an ‘association group’ and associating the group with a particular event.
An example of a Z-Wave device with association is a wall switch with two switching paddles (left and right). You can use at least two association groups, one for each paddle. As you can double-press a paddle or press both down at once, you can activate even more groups.
Typically, the number of receiving nodes per group is limited to five devices. The reason for this limitation is the device’s memory capacity. That said, several devices on the market offer higher memory capacities that allow support for more target nodes.
If you assign nodes to a device’s association group, the device will send a signal to all the target devices every time the group is activated. Typically, to activate the group, you’d by pressing a button, a combination of buttons or when a sensor value reaches a certain level.
Most devices with association functions use the BASIC command class to control target devices, ensuring you can control the maximum number of target devices.
Some devices can be configured to allow a command class to control target devices. With this feature, it‘s possible to execute special functions on the target devices.
You can also use Associations to assign certain remote control buttons to certain devices in a Z-Wave network.
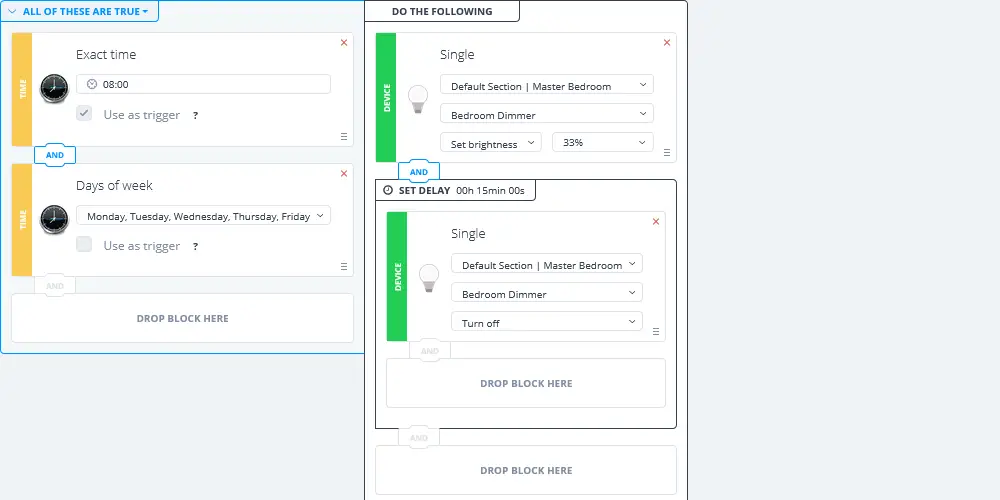
Z-Wave scene example (using Fibaro block editor)
What are Z-Wave Groups?
You can use a Z-Wave group to control multiple devices with a single button. They act as one large group, hence the name! Using a single command, you can switch all the devices in the group on/off at once.
As all of the devices in the group receive the same commands, it’s best to group similar devices together. Otherwise, you might end up with confusing results.
As with associations, most remote controls only use the BASIC command class to control groups, which allows the mixing of different devices, but only to a certain extent. Mixing a dimmer and a switch will result in the dimmer acting as a switch.
Most remote control instructions describe the switching of groups. But they don’t typically refer to switching a single device. You can create a group with a single device. Also, it’s possible to assign one device to multiple different groups.
What are Z-Wave Scenes?
Scenes are a very powerful feature of Z-Wave and can transform your system. They are similar to Groups as Scenes can control multiple devices in a single action. However, scenes enable the controller to send different commands to different devices.
With scenes, you programme a list of things to happen with multiple devices that would be hard to remember but are easy to activate thanks to this function. For example, you could create a scene called Movie that dims the light to 50%, turns on the TV, and set the radiator to 18 degrees.
You could program a morning scene that turns on the bedroom light, opens the curtains, and start the kettle boiling.
Hopefully, you can see that scenes are very flexible and much more powerful than groups. However, it takes a lot of memory to store the different commands.
For this reason, a remote controller will typically support fewer scenes than groups. For example, the HeatIt Z-Push can store up to 30 scenes, based on the different actions it can receive. The number is the same for the Fibaro KeyFob.
Static controllers such as IP gateways or PC software allow a nearly unlimited number of scenes, allowing you total flexibility. You can run scenes in parallel, easily restart them, or use conditional logic to trigger them to run.
photo by Heatit
How do Groups, Scenes, and Associations compare?
You now know that Groups, Scenes and Associations are different ways to enable functions and interactions within the Z-wave network.
Associations
An Association sends a control signal to one or more target devices (Slaves or controllers).
Groups
Grouping multiple devices allows them to receive the same control message, typically via association (from Slaves or controllers).
Scenes
Scenes allow you to group multiple devices while still treating them as individual devices by sending them different control messages.