Top 5 components you need in a budget media room
- By: Ashley Saunders | Home cinema
- PUBLISHED: 19th April 2019 | LAST UPDATE: 26th October 2023
Building a home cinema or media room can easily cost tens of thousands. It’s not uncommon for a top of the range set-up to cost over £100,000. What happens if you only have a fraction? Let’s say, £1,000. Is there any chance you can build a budget media room?
Yes, even with a tiny budget you can start building your dream cinema or media room.
Let’s start with an overview of what we need and why to build your budget media room. We’ll then break down each component and talk through options.
Starting point for your budget media room
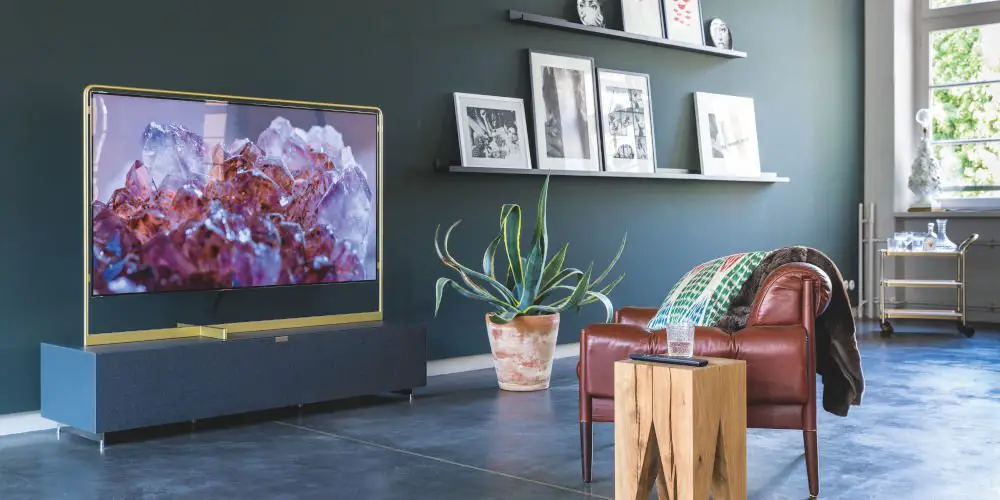
Before we get geeky and start talking about equipment, it’s worth thinking about space as it’s determines a lot. For example, you could be building a home cinema in a spare bedroom or adding the key components to your lounge.
To make it easier, we’re going to assume you have a spare single bedroom, which you’ll be using. Roughly this room measure 3.2 x 2.2 metres.
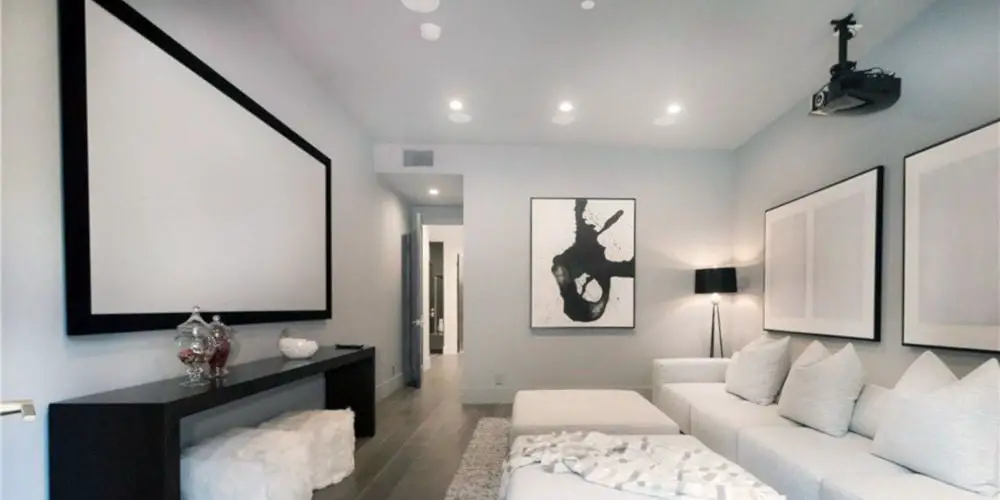
There are two basic ways to arrange your budget media room: Landscape and Portrait.
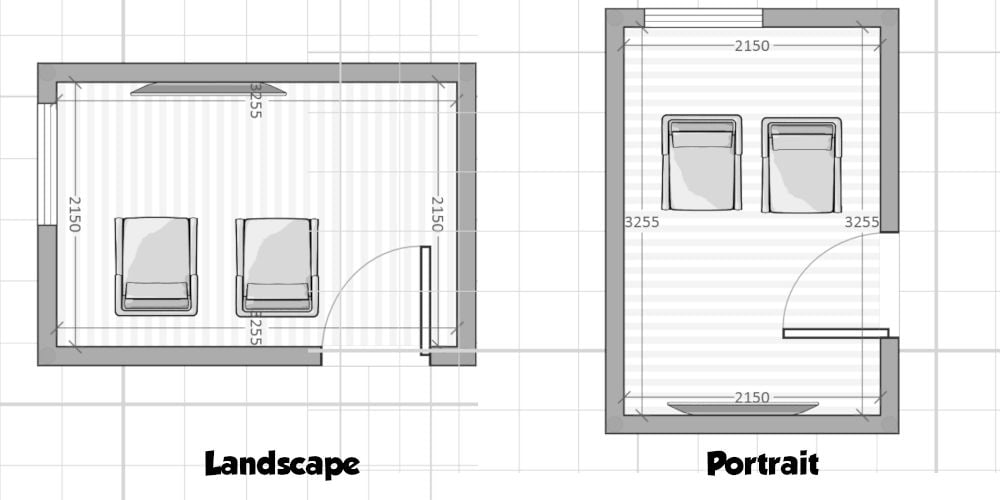
Landscape layout
In a landscape layout, the screen sits on the longest wall with seating opposite. If you’re going for a more relaxing feeling and plan to use a large sofa, then landscape is for you. As space is limited, you might feel too close to the screen.
Portrait layout
You could try a portrait layout. This is where you use the shorter wall at one end for the screen. You could place some seating halfway down the room. This layout works well if you’re planning to use daybeds or trying to squeeze two rows of seating.
There’s no right or wrong layout. It comes down to personal choice and what works best in the room.
Since nothing beats moving actual furniture in a room, you’ll only be able to get so far with a floor plan. However, it’s worth creating one and trying a few different configurations.
#1 Projector
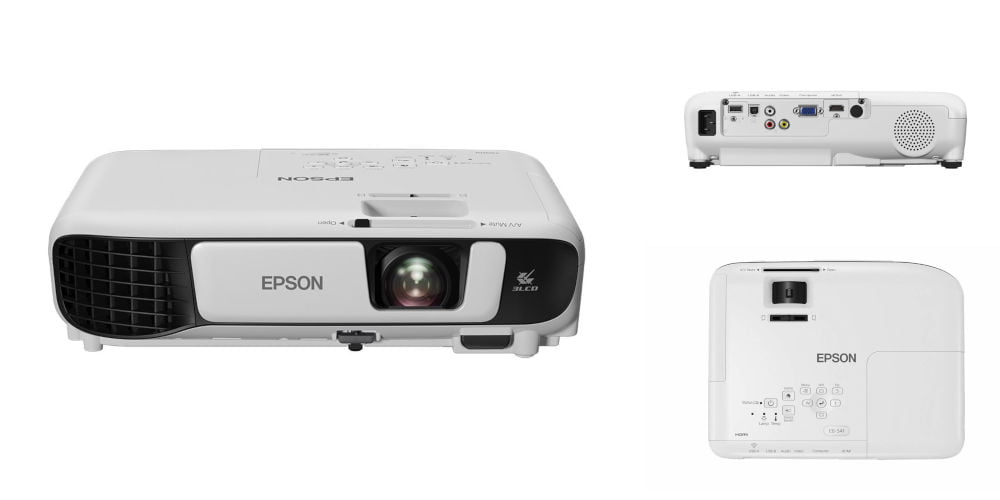
photo by Epson
Let’s start with the most expensive item on our list, the projector.
While you could use a TV, we’re aiming for the best overall experience within our tiny budget.
A word of warning, the market is full of really cheap projectors (many of which have lots of “positive” reviews). However, they are cheap for a reason, the lack the colour depth and intensity of well-established brands. Not to mention, customer support.
So while you’re fine to ignore our advice and buy a cheap projection, it’s likely you will be disappointed and end up spending more on another one.
Our top pick would be Epson EB-S41 SVGA. Firstly, it puts out 3300 Lumens of power (the same as around 4, 60-watt lightbulbs).
It can produce images for screens up to an impressive 300-inch. Far larger than you’ll ever need!
It has a good range of inputs including 3 phono, HDMI and PC screen and 2 USB ports.
It comes with a bulb as well as a two year UK warranty on the projector and 1000 hour bulb warranty.
At £290 from Amazon, Epson EB-S41 projector is nearly a third of our budget. However, it will last years and produce a crisp, clear picture.
Total spent: £290
#2 Screen
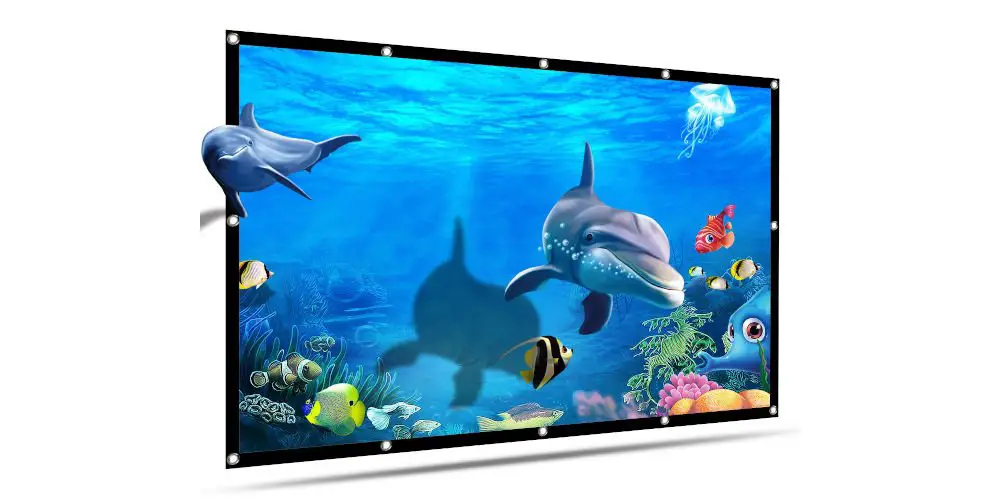
photo by OWLENZ
With a projector selected, it’s time to pick a screen. While you can paint a wall white or try using a bed sheet, investing in a proper screen is worth it.
We recently reviewed 10 of the best 100-inch projectors screens on the market. So, if you’re unsure of what to look for, this article is written for you!
For our budget media room, the OWLENZ 100 Inch Portable Projection Screen is a good pick. Available from Amazon for £20, it’s very affordable.
Of course, if you’re upgrading from a TV and have more cash to spend, then QualGear 100-Inch 4K HD Ultra Projector Screen. Yes, it’s £230 expensive, but it’s the last screen you’ll ever need.
In terms of mounting your screen, you’ll want to fix it to the wall between 60 and 100 cm from the ground. Your screen will need to be slightly higher if you’re planning a second row of seating.
The final thing to consider is the distance you’ll need to place the screen from the projector. Luckily the Epson EB-S41 has an adjustable zoom.
To work out the correct distance we need to multiply the throw distance by screen width. The Epson EB-S41 has a throw distance of between 1.45 and 1.96.
At 100 inch diagonally, our screen measure 87 inches wide by 49 inches high.
Distance from screen to projector lens = Throw distance x width of the screen in inches
So in our case, we can place the Epson between 3.2 metres (126 inches) and 4.3 metes (170 inches). This limits us to a portrait layout if we want to full our 100-inch screen.
Playing with the maths, in a landscape layout, the Epson would produce a screen size of around 64 inches. Of course, this would still be large enough to enjoy TV, gaming and movies.
Total spent: £312
#3 Blu-ray player
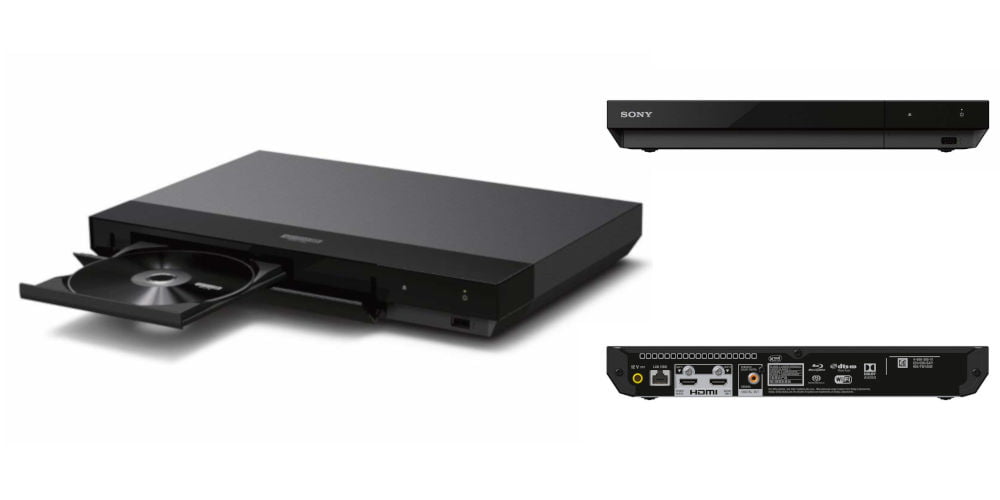
photo by Sony
Now that we have a fantastic project and screen, our budget media room needs a media player. Enter the Sony UBP-X700. While expensive, it does sit on the top spot in our list of Blu-ray Players.
We like quite a lot about the Sony UBP-X700 Blu-ray player. It has built-in Wi-Fi, which is great if you’re converting a bedroom and don’t fancy running cables, but still, want to watch Netflix and YouTube.
There’s a USB input on the front, which enables you to watch movies stored on a hard disk or phone. On the back, there’s a number of outputs including 2 HDMI, one of which, is audio only. So you can easily connect it into our Epson projector and use the audio output for a soundbar. But more on that in a minute.
The Sony UBP-X700 plays CDs, DVDs, and Blu-ray discs with ease and automatically upgrade the picture quality to 4k HD.
While there’s no single right place, we’d recommend placing this unit under the projector. It’s also worth noting that there are positives and negatives to every placement options. So it’s best to try a few placements to see what works for you.
Total spent: £496
#4 Surround sound system
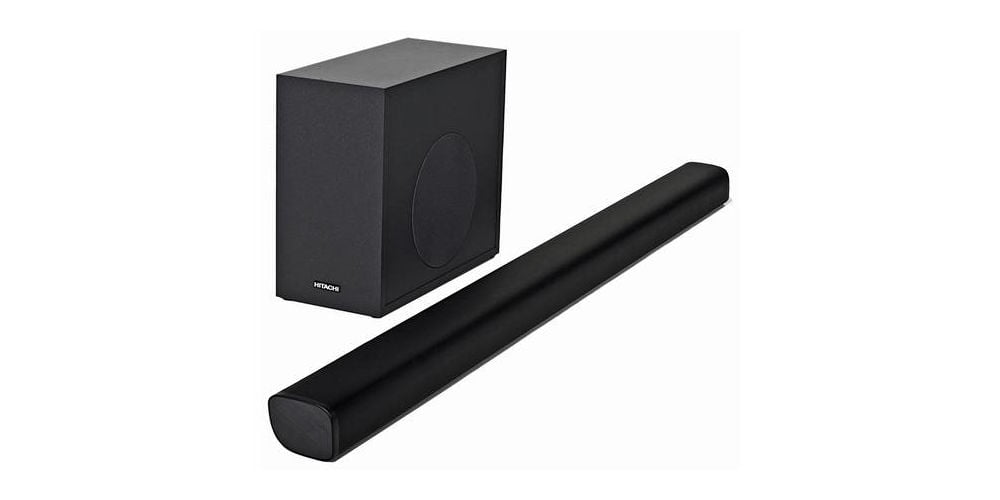
photo by Hitachi
As we’re pretty much-spent half of our budget, we sadly don’t have the funds for a 5.1 surround sound system for our budget media room. We’d recommend upgrading as soon as you can. Start by buying a 5.1 AV receiver either from Amazon or eBay.
So with a lack of budget, we’ll have to settle for a soundbar. Thankfully, there are lots of great options available. A 2.1 system typically has a soundbar and separate subwoofer. And as a result, everything sounds fuller and richer.
A word of warning. Spend the extra on an active subwoofer as the passive variety lacks the power.
Having tried a few, we recommend (and use) the Hitachi 240W 2.1Ch Sound Bar with Wireless Subwoofer. Priced at £103 from Amazon, it’s an affordable solution.
While the soundbar and woofer connect wirelessly, both units need their own power. The Hitachi has a number of inputs including stereo phono, optical and mini-jack.
In terms of where’s best to place within our budget media room, we’d recommend placing both under the screen in the centre.
There is a problem, however. Out of the box, the Sony and Hitachi don’t interface with each other. We need something like the LiNKFOR HDMI Audio Extractor. This smart box (£15 from Amazon) converts HDMI into stereo phonos. It also passes the HDMI signal.
Start by plugging the Sony Blu-ray player into the HDMI input. You can use the HDMI output for the Epson projector. Finally, connect the Hitachi 2.1 sound system via the phonos.
Total spent: £614
#5 Furniture
With less than £400, we’ll have to be clever with furniture and accessories for our budget media room.
Our top tip is to look on eBay, Gumtree and Facebook for used furniture that is available locally. You should be able to pick up a few great deals.
Cables
Before we get down to the interior design of our budget media room, we need to talk cables. What you need will depend on what devices you choose and the distances between them.
If you go with our recommendations, then you’ll need 2 HDMI cables and a dual phonos cable. Most units come with power cables but not much more, so make sure you order additional cables with your units.
We’d recommend buying and use high quality cables and binning any that come with device as they’re usually poor quality.
Seating
On to furniture! It would be ridiculous for anyone to believe they could furnish a media room on £400, especially as you could easily spend that on soundproofing.
Starting with seating. While dependent on your room size and layout, there are lots of options. We love having armless Chaise Longues or daybeds in our budget media room. They’re great for lying and snuggling on.
If they don’t appeal to you, then consider armchairs with footrests. You can easily push them together to create a daybed or arrange the footrests as a second row.
Another option is the traditional theatre seat. Made from leather, Wayfair.co.uk has Manual Recliner by Homestead Living, which ideal and priced at £220 each.
Side tables
Even one side table can improve your viewing experience. It’s somewhere place drinks and snacks as well as safely store remotes. Of course, space allowing, you could couple each seat with its own side table.
Media unit
Having somewhere to store all your Blu-ray and the player is essential. You could build a row of IKEA units along one wall or find a suitable stand-alone piece.
Regardless of where you put it, make sure if you need to run cables to and from the unit, that you can. There’s no point getting caught short by a couple of centimetres!
Also if you plan to place the soundbar on top, make sure your unit is long enough! Of course, you can attach the Hitachi soundbar to the wall with the included screws and then place the subwoofer on the floor.
Brackets
You might want to attach the projector to the ceiling. If so, then you’ll need a bracket. There’s literally a ton on the market for under £30, all of which should do the job. We like the VonHaus White Projector Ceiling Mount – £15 from Amazon.
Completing your budget media room
Building your budget media room will take some planning. Start with a floor plan and play with your options.
When you’re confident with the layout, then start to purchase items, bit by bit. Use our recommendations as a starting point and customise your room to match your personality. Also consider automating your cinema room to make it easier to use.
As we’ve hopefully shown, you can build a fantastic budget media room for a £1,000.