How can Fibaro Walli Controller automate your home?

- By: Ashley Saunders | Fibaro
- PUBLISHED: 2nd October 2022 | LAST UPDATE: 30th September 2022
Inspired by a pearl, the Fibaro Walli Controller is a Z-Wave Plus switch that equips your home with versatile intelligence. Its modern, sleek look fits right into most homes.
Simply, place Walli Controller wherever you want it and manage the smart home automation with one button press. It can wirelessly control light, blinds, music or everything at once! You can power it either using batteries or wire it into using an included DC power cable.
As a Z-Wave device, you can use it with any Z-Wave system, including the Fibaro Home Center range and Samsung SmartThings. Follow us as we review the Fibaro Walli Controller.
What is the Fibaro Walli Controller?
As a universal surface-mounted button for starting scenes or operating Z-wave devices, the Fibaro Walli Controller is highly flexible and sports a modern design. It’s compatible with the Walli product line, including the Walli Dimmer, but also perfect as a separate button.
Either power using a battery or DC power. You can stick the switch where ever is best with no wires, renovations or wall drilling! Of course, it can replace an existing switch if you’re upgrading as it slots right in and is more iconic than the traditional switches.
If you power it using the included DC cable, the Walli Controller becomes a Z-Wave repeater and you can use the built-in temperature sensor.
There are plenty of uses, including using it as a light switch, a button for roller blinds, or to activate a preset scene. And as a Z-Wave Plus device, you benefit from extended range, longer battery life (up to 2 years with max 10 daily pushes), and over-the-air upgrades.

photo by Fibaro
Will you need a Z-Wave or Fibaro hub?
You’ll need a Z-Wave hub or gateway to use the Fibaro Walli Dimmer in your home. But that doesn’t mean you have to use a Fibaro Home Center hub as plenty of Z-Wave gateways are available.
SmartThings, for example, is compatible with Zigbee and Z-Wave. So, if you already using a Samsung SmartThings hub (either a stand-alone hub or one built-in to an appliance), this device will work with your system.
As a Fibaro device, we’d recommend using one of their Home Center hubs to ensure the best performance and options. Also by using a Fibaro hub, you can use Alexa or Google Assistant to control your system.
Can you install it yourself?
You can install it yourself and there are a few options. You can battery power the device, just like you can with the Smoke Sensor, The Button and Motion Sensor. However, you could use the DC power cable and use the mains.
If you decide on using mains power, don’t attempt to install the device unless you feel confident as your dealing with live electrics that could kill. You should read the manual before trying to install and configure it.
Installing on a smooth surface with a battery supply
Installing the Walli Controller is easier when using a battery as you can stick the device directly to any flat surface. Simply, remove the button cover and the paper strip protecting the battery. If the LED ring light up, the device is powered.
Next, place the button cover back and remove the mounting frame from the device. Using the included double-sided adhesive tape to stick the mounting frame to a smooth and clean surface. Push the device onto the mounting frame of the device, you should hear an audible click.
Installing on a mounting box with battery supply
You can mount the Walli Controller using a mounting box (purchased separately) if you want to use a few of the Walli range together. In this case, remove the mounting frame from the device. Place the mounting frame onto the mounting box and secure it with screws.
Next, push the device onto the mounting frame of the device. You should hear an audible click. Then remove the button cover and the paper strip protecting the battery. You should the LED ring light up that shows the device is powered. Finally, insert the button cover back.
Installing on a mounting box with an external power supply
Firstly, you need to prepare the power supply. Switch off the mains voltage at the fuse box. Using wire connectors, connect included power connector to the power supply (black to negative wire, red to positive wire).
Using wire connectors, connect the power supply to the mains. Place the power supply inside the mounting box, leaving the power connector outside.
Next, it’s time to assemble the device. Start by removing the mounting frame from the device. Next, push the power connector through the hole in the mounting frame. Then, you need to place the mounting frame onto the mounting box and secure it with screws.
Next, plug the power connector into the device and push the device onto the mounting frame of the device. You should hear an audible click. If you do, then turn on the mains again. If the LED ring light up, the device has power.
You then want to remove the button cover. It’s worth leaving the battery in the unit as a backup power source. So you want to remove the paper strip protecting the battery. Finally, insert the button cover back.
Adding to Z-Wave
Regardless of how you install your Fibaro Walli Controller,you next need to add it to your Z-Wave network. Depending on how you plan to use it, you will need to configure it slightly differently. Thankfully, the manual has clear instructions for a range of uses.
While it looks like it’s a single button, there are two buttons. So you can use it to control blinds, moving them up and down. Another option is to use it as a dimmer light switch, allowing you to easily adjust the brightness.
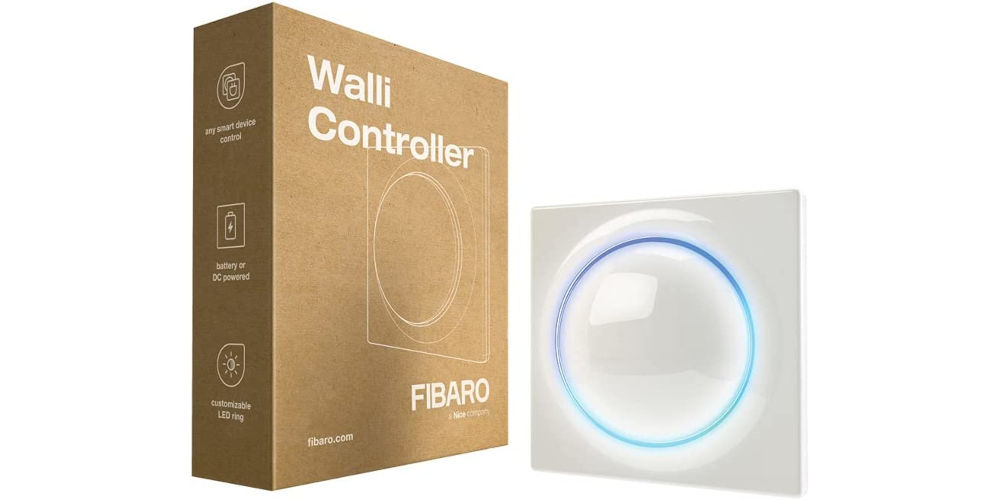
photo by Fibaro
Using this Fibaro device in your Z-Wave smart home
There are plenty of ways for you to use the FIBARO Walli Controller with your smart home system. You could use it to operate a light, blinds, gates, or the garage door. Another option is to use it to activate a preset scene that controls multiple devices at once.
You could use it to play music while turning on a light and lowering the blinds. The possibilities are seemingly endless, and as a battery-powered device, you can position it anywhere!
If you have a home cinema room, the Walli Controller could be the single button that dims the light, lowers the projector and screen, and closes the blinds, allowing you to quickly get ready for movie night.
Should you add the Fibaro Walli Controller?
It’s easy to see just how useful the Fibaro Walli Controller can be in a home. While similar to Fibaro’s The Button, it’s more sleek looking and offers more flexibility. Plus, you can use a few of the Walli range together for even more stylish control!
Getting the Walli Controller set up is a little tricky as it’s so versatile. However, after a little experimentation, it will make life easier as you have better control over your smart home system. We’d bet you our last dollar, that after you add one, you’ll want more!