Flymo 1200R robotic lawn mower review
- By: Ashley Saunders | Robotic lawn mowers
- PUBLISHED: 22nd June 2020 | LAST UPDATE: 10th August 2023
As mowing your lawn shouldn’t cost the earth or take all day, we’re happy to introduce the Flymo 1200R Robotic Mower. It will take care of your lawn with minimal input from you, and all for an affordable price.
Capable of covering up to 400 m2, the Flymo 1200R reliably and effectively looks after your lawn. Using a 17 cm diameter cutting width, it effortlessly covers a wide area in a short time. Adjusting the height of the blades is simple, allowing you to tailor the cut to each season.
As a robotic device, the 1200R requires little intervention allowing you to enjoy your garden. It automatically docks and charges it’s 18 V /1.6 Ah lithium-ion battery when required and returns to base once it completes mowing.
Clippings are fed back onto the lawn, acting as a natural fertiliser. So there’s no collection bin to empty and it doesn’t create large piles of cuttings which need raking.
Using a combination of sensors and boundary wire for navigation, the Flymo 1200R is smart and efficient. Programming is very simple and highly configurable due in part to the sizeable control panel with LCD display. A large stop button makes stopping the unit simple.
Unlike a traditional lawn mower, the Flymo 1200R is nearly silent and doesn’t produce any emissions. You can enjoy time with family or friends in your garden while the 1200R continues to work.
As one of the best robotic lawnmower on the market, the Flymo 1200R scores a strong 8/10.
Pros
- 18 V Lithium-ion Battery
- Efficient cut with 17 cm wide blade
- Cutting height can be set between 2 and 5 cm
Cons
- Manual is unnecessarily technical
- Doesn’t integrate with home automation systems
Design
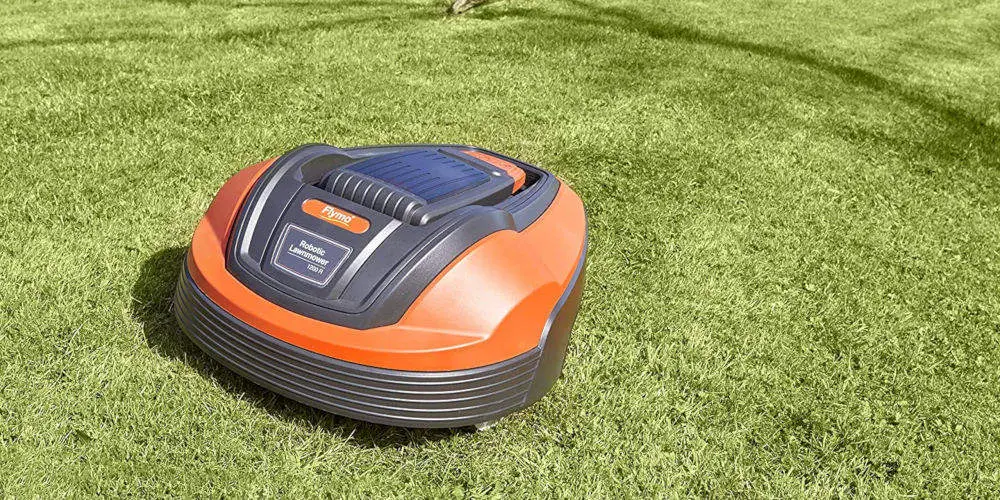
Sporting the classic Flymo colours of bright orange and charcoal grey, the 1200R weighs just under 8 kg and measure 44 cm (w) by 26 cm (d) by 44 cm (h).
The charging station compliments the unit and uses the same colours. Designed to be secured to the ground, this dock has contact strips which the unit uses to charge, a status LED and mains power input.
On the Flymo 1200R, the sleek top features a covered control panel with a key pad and display screen as well as a large stop button. The main action happens below, leaving the body clutter-free and improving its aerodynamics.
Turning it over reveals 3 wheels, blades on an adjustable plate, a carry handle and there are charging strip either side of the rear wheel. The main electrics and battery sit under secured plates, protecting them from damage.
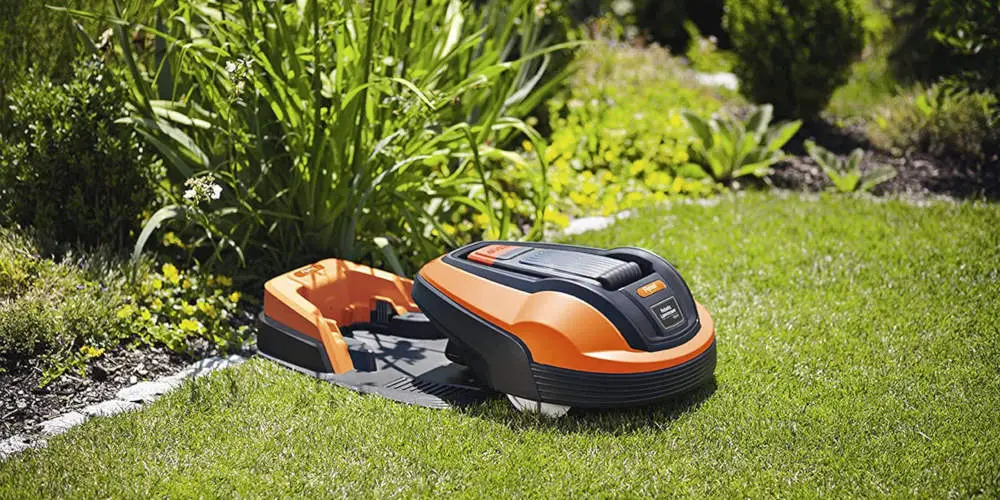
photo by Flymo
Features
One of the most important features in any battery-powered unit is the battery. At the heart of the 1200R is an 18 V / 1.6 Ah Lithium-ion Battery which takes between 80 and 100 minutes to charge. The average runtime per charge is 60 minutes, which as far as battery-powered tools go, is very good.
Unlike other robomowers, the battery in the Flymo 1200R can’t be easily removed and used in other Flymo products. So it always needs the charging dock to be easily located. That said, it is programmed to automatically dock and start charging when the battery’s low.
The 1200R is designed for gardens up to 400 m² in size and can cover around 30 m² per charge, making it ideal for most properties. It can easily cut a large lawn area or multiple lawn areas with some assistance.
Three blades sit on an adjustable plate and provide a cutting width of 17 cm. This plate can be adjusted between 2 and 5 cm, which allows you to tailor the overall cut.
Using a random mowing pattern, the 1200R ensure the entire lawn is evenly cut, regardless of its size and shape. It can even handle slopes with a gradient of up to 25%. The onboard smart sensors enable it to mow uninterrupted while avoiding obstacles and collisions.
As cuttings fall are returned to the lawn, there is no bin to empty or piles of grass clippings to rake. These clippings help to keep the grass healthy and provide it with nutrients.
Finally, it offers 3 levels of security, including an onboard alarm and a PIN code to ensure it can’t be operated if stolen.
Set-up
Even for a small lawn, getting the Flymo 1200R set up does involve quite a bit of effort. As with buying any other robomower, firstly, you need to check your lawn doesn’t have any large dips that could collect rainwater as any contact with water will damage the 1200R.
For the best results, your grass should be under 10 cm tall. Over this amount and you’ll need to cut it down with a traditional mower and remove the clippings.
Dock
The bulk of installation is taken up with securing the boundary wire. Before you start to lay and peg down boundary wire, you need to set-up and secure the charging base. This should be placed near the property as it requires mains power.
Ideally, you should place the charging base so that it has 2 metres of clearance on three sides. Don’t place the dock in a corner or tight space as the 1200R might struggle to find it.
Boundary wire
With the dock in secured in place and powered, you’ll need to lay the boundary wire. When laying it out, leave a 20 cm gap from the edge. You should have enough to cover your lawn and mark out any plants or flower beds you don’t want to be touched.
When you’re happy, use a mallet and the included pegs to secure the boundary wire and feed the two ends into the charging station. Within a week or so, your grass will grow, making the wire invisible.
Basic set-up
Before you can mow, you need to charge the battery, which takes around 100 minutes. When charged, lift the top hatch by pressing the stop button to reveal the control panel. You’ll then need to add some basic details and set up the 4 digit pin code.
Finally, press the start button and put down the hatch and it will automatically run the calibration mode. It should then try to follow the boundary wire and if installed correctly, the Flymo 1200R will return to the dock.
Control
As with other Flymo robomowers, the only control method is the keypad. You can use the keypad to select from automatic, manual and home modes. You can set the timer and adjust the security level. It’s pretty straightforward
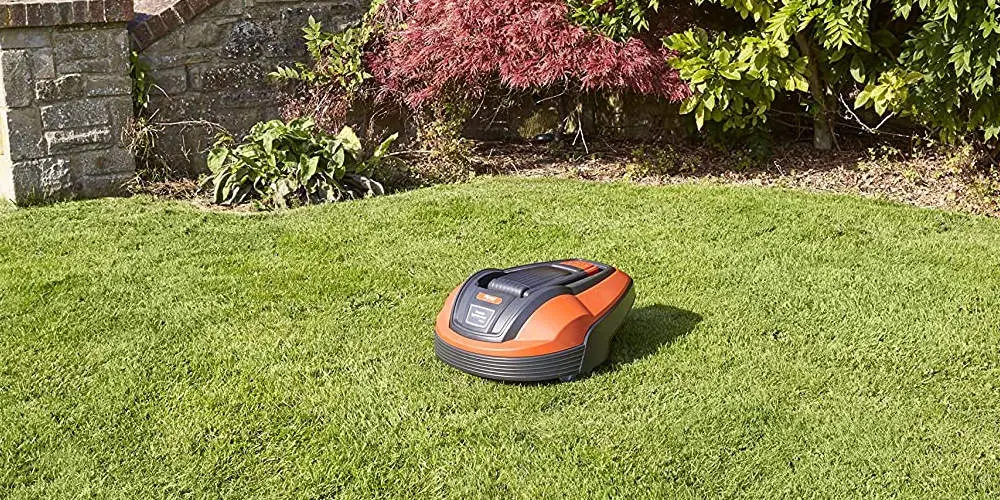
photo by Flymo
Performance
After quite an involved set-up process, you’ll be relieved to learn that other than a weekly check, you don’t need to do much to keep it running. Of course, if you have multiple lawns, then you’ll have to occasionally move the 1200R between areas.
Invest in a robomower garage
As with all robotic mower, the Flymo 1200R is designed to operate in summer and spend the winter indoors. That said, it’s worth investing in or building a robomower garage that can cover the dock. When the 1200R is docked, it will be protected from the elements by the garage.
Coverage
Flymo estimates the 1200R can handle a total area of 400 m2. However many users have been able to cover a slightly larger lawn, up to 500 m2 by running it 7 days a week.
Run time
Another factor to consider is battery life. The 1200R can cover about 30 m2 per charge. So, it’ll need to charge 17 times to cover 500 m2, which is achievable over 7 days without annoying the neighbours.
The 1200R has 12 hours of down-time built-in per day. So, it will only operate for a maximum of 12 hours per day. Add in the 1 hours charge time per 60 minutes run time, and your 1200R will only mow for up to a total of 6 hours per day.
In terms of estimating run time, you’ll need to experiment as the manual explains this in very technical detail which isn’t easy to follow. In short, you can set the Flymo 1200R to only run when you’re home and sit in the dock when you’re out, ensuring that it doesn’t get stolen.
Cut above the rest
If you’ve used a Flymo mower before you’ll be aware of the even cut even on a slope. The Flymo 1200R is no different and while the cutting width is 17 cm, which is fairly small, it does move in such a way that it mow the entire lawn with ease.
Adjusting the cutting height is very simple and doesn’t require using any tools. Open the hatch to reveal the controls and twist the large orange knob at the top. There are 4 positions (2, 3, 4, 5 cm). It’s worth adjusting the cutting height depending on the season for the best results.
Conclusion
Overall, it does take some effort to properly set up and optimise its performance. Also, if you have a lot of flower beds or tight corners then you may need to strim them after your Flymo 1200R cuts the majority of the lawn.
Is the Flymo 1200R worth buying?
If you’re looking for a mid-priced robomower, it’s worth considering the Flymo 1200R Robotic Lawn Mower. It might lack control options and require some trial and error (thanks to a poorly written manual) but overall it is hard to beat it.
It does suffer from many of the common issues that afflict robomowers.
It uses a boundary wire for basic navigation, meaning set-up can take a few hours. This wire is combined with onboard sensors, which help to propel the unit while spotting and avoiding objects. Thankfully, together they form a half-decent navigation system.
Some will appreciate that for the price, one of the trade-offs is control options or in the case of the Flymo 1200R lack thereof. And while you can easily programme the robomower using the controls found on the top panel, having a mobile app would be equally as useful.
As already stated the manual is overly technical which can easily confuse. So you may want to experiment rather than getting frustrated!
On the positive side, the 1200R maintains a high-quality cut that Flymo is well known for even with its relatively small cutting width. That said, as it uses a random pattern to navigate, your lawn will be cut with precision.
We’d recommend buying the Flymo 1200R if you looking to automate your gardening without having to employ a gardener as it worth the money and should easily pay for itself. 8/10