How to build and use SmartThings scenes
- By: Ashley Saunders | SmartThings
- PUBLISHED: 22nd August 2023 | LAST UPDATE: 6th September 2023
Turning on and off multiple devices at once in your home can quickly become annoying. You didn’t spend big on connected devices only to need to go to switch every time you want to make an adjustment. Thankfully with SmartThings scenes solve this with a single button push.
Building automation scenes in SmartThings is super simple and takes a few minutes. With a single push of the scene button or a voice command, you can adjust multiple devices. You’ll never have to try and remember what to adjust and the correct level again.
Once you’ve built a few SmartThings scenes, you’ll want to buy more devices and create even more. Here are the basic steps to get you started.
How do scenes work?
If you haven’t yet built or used a scene, you might wonder why they are helpful. Scenes allow you to control devices using preset settings or conditional logic.
You might have a scene that turns on the hallway light when a motion sensor detects movement. This scene uses conditional logic to trigger devices without needing you to tap a button or speak a word.
Another common scene is “good night”. You push the button, and the bedroom lights dim, the curtains shut, and the bedside lights turn on. You don’t have to think about individual settings or play with devices to find the ideal adjustment.
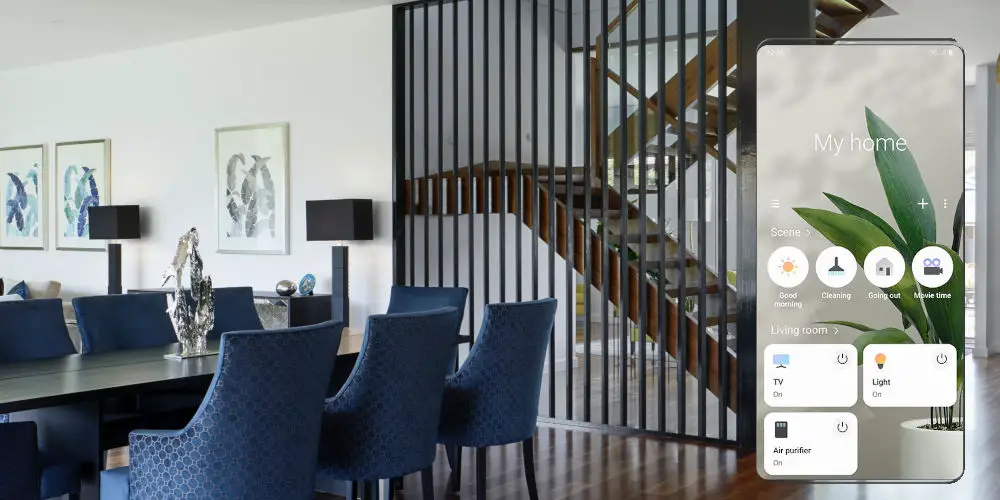
Samsung SmartThings is highly configurable, allowing you to programme your home to react as you want it to.
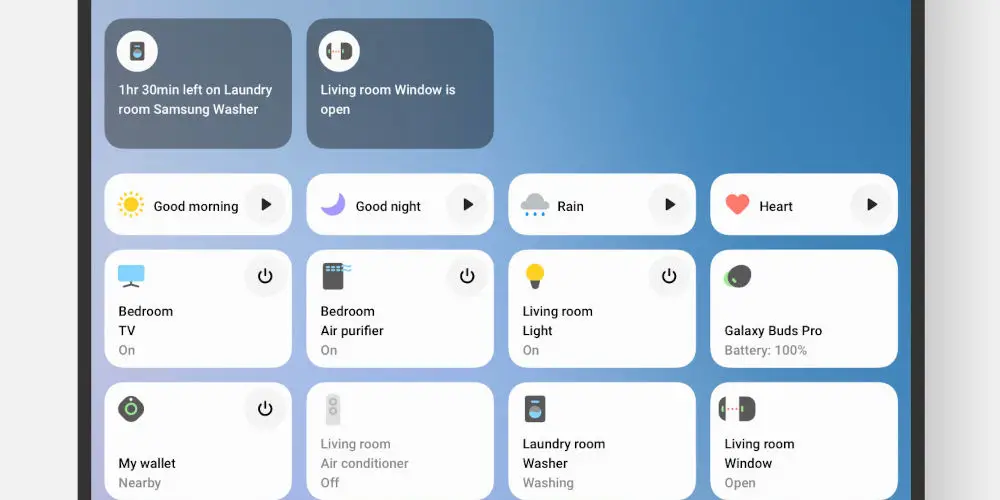
photo by Samsung
How to build SmartThings scenes
Step 1: Check you’ve got everything
First, ensure all of your smart devices are connected to the app, especially those devices you want to use in your ‘scene’. If not, you’ll need to tap add (+), press ‘Device’, and follow the instructions. Don’t worry, adding new devices takes a few minutes and is painless.
Step 2: Open the SmartThings app
In the Samsung SmartThings app, click ‘Scenes’ On the menu. Next, select ‘Add Scene’ to get started. If you haven’t yet downloaded the app, you can from the Apple App Store or Google Play.
Step 3: Give it a name
Naming scenes helps make it easy to recall them using voice commands or knowing the right scene button on the app to tap. Plus, if you ever need to come back and edit the actions, you’ll know exactly which one it is.
Step 4: Pick the devices you want in the ‘Scene’
Press add (+) and then ‘Control devices’. A list of your connected smart tech will show up. Pick which ones you’d like to use in your scene and hit ‘Next’.
Step 5: Choose an action
Tap on each device and select what action you’d like it to perform in the scene. Finally, you can give this a test run, or just click ‘Save’.
Step 6: Run a scene
Now you’ve created a scene. It’s time to test it. You can use your phone, tablet, TV or watch to run the scene.
How can you trigger scenes?
There are a few ways you can activate your SmartThings scenes. The most obvious is to use the app. Another option is to use voice commands, which is ideal if you’re not glued to your phone or tablet 24/7.
As SmartThings works with both Z-Wave and Zigbee devices, you could use an external switch to trigger scenes, such as the HeatIt Z-Push, any of the MCO Home touch panel switch ranges, or the Zemismart Mini Scene Button.
You could use devices to trigger scenes, things such as motion sensors and door/window sensors. So, you’re not limited to a single method when activating scenes, nor do you need to be home to tap a button for it to run.
Another option is to create automations using your scenes to operate devices based on logic, such as time of the day, a room’s temperature, or the light level.