How to set up an AV receiver for the first time
- By: Ashley Saunders | AV receivers
- PUBLISHED: 11th September 2022 | LAST UPDATE: 17th May 2023
At the heart of every serious home cinema set up is an AV receiver. It’s the brains of the operation that manages multiple inputs and outputs, ensuring the right signal is distributed to the right place. But you might wonder how to set up an AV receiver, especially if it’s your first time.
If you haven’t wired up an AV receiver before or if you’re updating one, looking at the rear could make your head spin. There are loads of connections of various shapes and sizes. It’s much like the back of a TV, just multiplied!
With a few pointers, you can decipher inputs, outputs and where to plug in your speaker system, including the subwoofer. Our advice works for all brands. So if you have a Sony, Onkyo, Yamaha, or another manufacturer, you’ll soon know how to set up your AV receiver.
Here is how to set up an AV receiver for the first time without going crazy or needing to pay for installation.
Getting ready to install your AV receiver
An AV receiver manages and distributes a range of video and audio signals. It makes it easy to switch between a Blu-ray player, streaming services, and a DVD player to a single TV/projector while supplying audio to and powering multiple speakers.
The exact steps you need to follow to set up an AV receiver will depend on the brand and model of your unit. That said, the overall process is essentially the same.
The first thing you should do is unpack the unit. The box should also include a remote control (with batteries), a user guide, power cable (which might be attached), radio antennas, Wi-Fi antennas, and a microphone (for speaker set up).
Most AV receivers come with a printed quick start guide. So, you might need a laptop or tablet to download the full manual. You might find that the quick start guide might not cover all you need to get set up.
Part of learning how to set up an AV receiver is reading the user manual in full. If you miss a crucial step, it can cause problems later.
For a basic installation, you won’t need a lot of tools. You should only need a wire cutter/stripper and a torch.
Where’s the best location for your unit?
Before trying to wire in and set up an AV receiver, it’s worth finding a suitable location. You should consider the following points.
AV receivers generate heat, particularly if they have several built-in amplifiers that draw plenty of power. So you want to place your receiver where air can circulate freely and keep the operating temperature low.
Even if the receiver has a fan, it’s worth allowing two or three inches of space on each side and at least six inches behind to leave room for connection cables. But do double-check the user manual as the manufacturer might recommend more.
As most modern AV receivers have antennas, you should be careful that you have enough height to allow them to rotate or extend vertically. You might need four to six inches above the rear of the unit.
If you’re placing your unit in an AV rack or shelf and won’t be able to access the back after you put it into place, you’ll want to attach all cables and speaker wires before you place the receiver in its permanent position.
As an electrical device, don’t plug your receiver into a power outlet until you completed the entire connection process.
Label your cables and speaker wires
If we had a pound for every time we heard horror stories about unlabelled cables, we’d be sat on the beach, retired! Well, maybe not quite! Labels make it easy to keep track of cables and wires; and where they go.
When you come to upgrade your home cinema receiver or if something stops working, you’ll be grateful that you labelled the cables now! It’s worth labelling both ends of the speaker wire and cables so that the connection route is easily identified.
Before you label any cables, ensure they are the optimum length. It’s worth having a little slack in the cables of about 30 to 50 cm. So, if you want to change your receiver or access the rear panel, you won’t damage the cables or connection terminals on the receiver.
Setting up your home cinema speaker set up
Where to put them
If you don’t know where to place your speakers, start with our guide to speaker placement for home cinemas. Once you have a rough idea of where you’ll put them, you can take some measurements to determine how much speaker wire you need.
Wiring options
You have three options when running speaker wires. The first option is to run cables under your carpet. Doing this can be tricky if you don’t want to replace your carpet and you can’t easily lift up your current one.
You could use cable tunnels to hide wires. They don’t require you to lift up carpets or drill holes in the walls. The third option is to drill holes in the walls and conceal cables behind them. Be warned, this is a messy option that takes time, effort and money.
Speaker connections
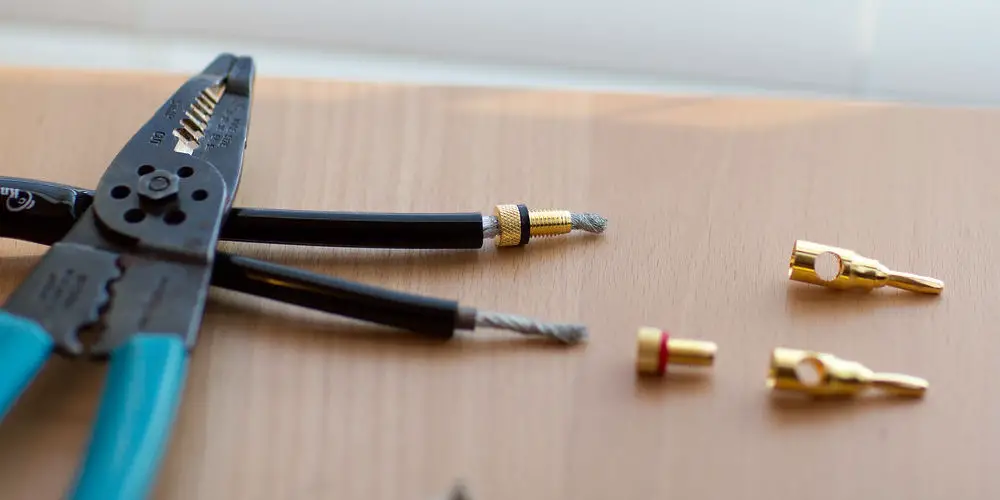
Properly preparing speaker wires is a tedious job, but you should take your time and do it right. You need secure connections that will stay put for years.
We recommend using banana plugs over bare wires, the extra cost is worth it. Having to attach 10 or more connections isn’t fun at the best of times. Imagine doing this in a tight space, and you’ll quickly see why we recommend banana plugs.
Plus, a single stray wire could cause a short circuit that shuts down your receiver. You’ll need four banana connectors per speaker wire (2 for each end). So, with a 5.1 speaker system, you’ll need to buy 20 plugs.
If you’re new to banana connectors, there are plenty of instructional YouTube videos. You can buy red and black ones. The standard is to use red for positive and black for negative. Just ensure you correctly wire both ends using the right connector, or you’ll find yourself in a mess.
Connecting your speaker wires to the receiver
You should be ready to connect your speakers to the receiver. It’s best to get some other elements connected first and hook up the speakers as the second to last item, before adding the power cable.
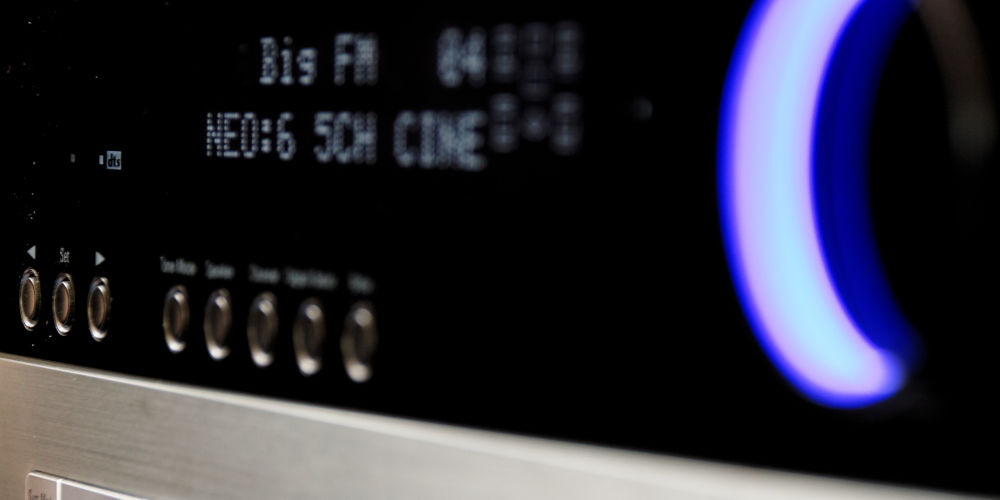
How to set up an AV receiver
With your speakers sitting on the correct length of wire with banana plugs, we can take care of the basics. Again, adding power should be the last step, but there are plenty of things to do before we get to that point.
When you’re about to set up an AV receiver, start by connecting any antennas that came with the receiver (AM/FM, Bluetooth, Wi-Fi). If you plan to use your models’ built-in Wi-Fi, you’ll want to set this up later.
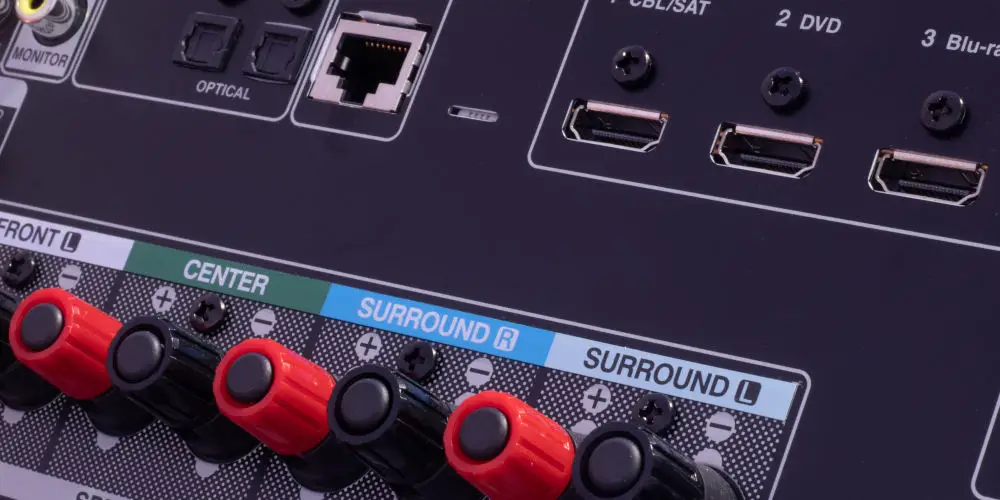
If you plan to use a wired internet connection via an Ethernet cable, now is the time to connect one to the receiver’s Ethernet/LAN port.
Connect your speakers
You can now start connecting speakers by matching the speaker terminals on the receiver to the speakers. Start with the centre speaker and the main left and right. Finally, attach the rear left and right speakers to the correct speaker terminals on the unit.
When connecting a speaker, ensure the connection polarity is correct: red is positive (+), and black is negative (-). If the polarity is reversed, the speakers will be out-of-phase. The result is an inaccurate soundstage and poor low-end frequency reproduction.
If you’re using a different speaker set up (such as Dolby Atmos, DTS:X, or Zone 2), refer to the user manual to learn the correct way to connect them.
Finally, connect the subwoofer and ensure it has power. The majority of subwoofers are powered and connect to a passive output on the AV receiver. They use an RCA-type connection rather than bare wires.
Connecting your display
The next step is to connect your unit to a TV or projector using an HDMI cable. By connecting to a display, you should be able to follow an on-screen guide that will help you get everything set up. The majority of units now hold your hand during the set up process.
Using an HDMI cable, connect it to HDMI output 1 or Main on the receiver and HDMI input 1 on the TV or projector. You can connect to your TV’s HDMI ARC for more control. Don’t worry, most receivers feed an HD or 4K picture quality from their HDMI outputs.
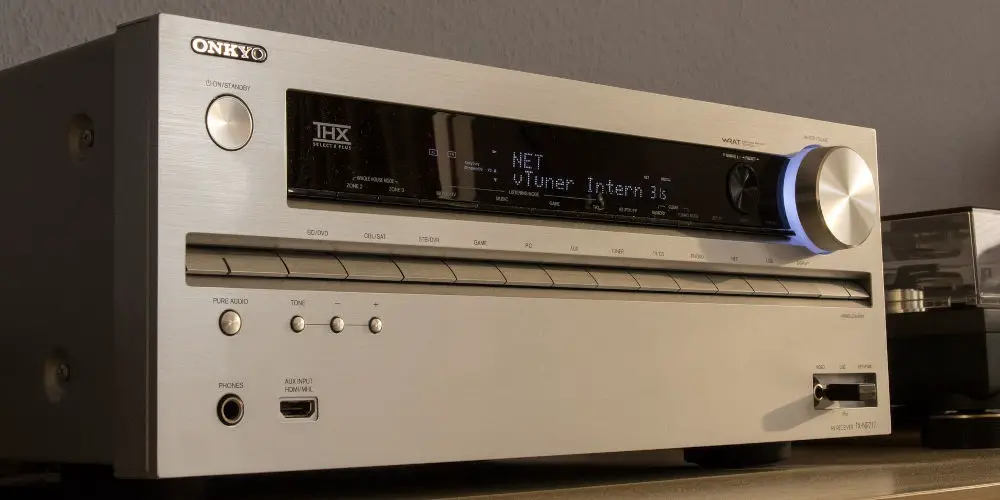
Powering your unit
As all the initial connections are completed, you can slide the receiver into position and plug it into the mains. Using the power button on the front, turn it on. It should light up and allow you to proceed with the rest of the set up.
Next, put batteries in the remote control. You should now be able to follow the on-screen instructions to complete setting up the unit. The steps may vary, but you will most likely need to select a language, set up an internet connection, and download any firmware updates.
Some manufacturers provide an iOS or Android app, allowing you to perform basic set up and control functions from your smartphone. It’s all part and parcel of learning how to set up an AV receiver!
Watch your power sockets!
It’s vital you protect your investment. So, don’t scrimp and only use cheap power strips. Instead, invest in a high-quality power protection device that will keep your gear from being fried if an electrical surge happens.
Ensure you buy a power protection unit with plenty of outlets that can easily accommodate all of your components. A good power protection unit also will filter any unwanted noises.
Connecting source components
We’re yet to connect any source to our AV receiver. Source components can include Blu-ray players, cable/satellite boxes, game consoles, and media streaming dongles/boxes.
If you want to connect an old VCR or DVD player that doesn’t have an HDMI output, it’s worth checking that your receiver offers analogue video connections as many don’t offer such features.
After connecting your source components follow the receiver’s on-screen menu system to ensure they are correctly configured. If you can’t directly connect your CD or record player to your unit, you might need additional equipment.
It’s best to follow the on screen guide and read the manual to ensure your receiver is correctly set up and configured. Otherwise, you might not enjoy the best possible performance.
Finishing touches to get the best from your cinema system
With everything connected, it’s time to fine-tune your system and set it up to work the way you want. You’ll find a lot of advice in the manual and while it might be over 100 pages, it’s worth skimming through it.
You might discover new features and settings that enhance your enjoyment or spark some ideas for system expansion. It’s part of learning how to set up an AV receiver!
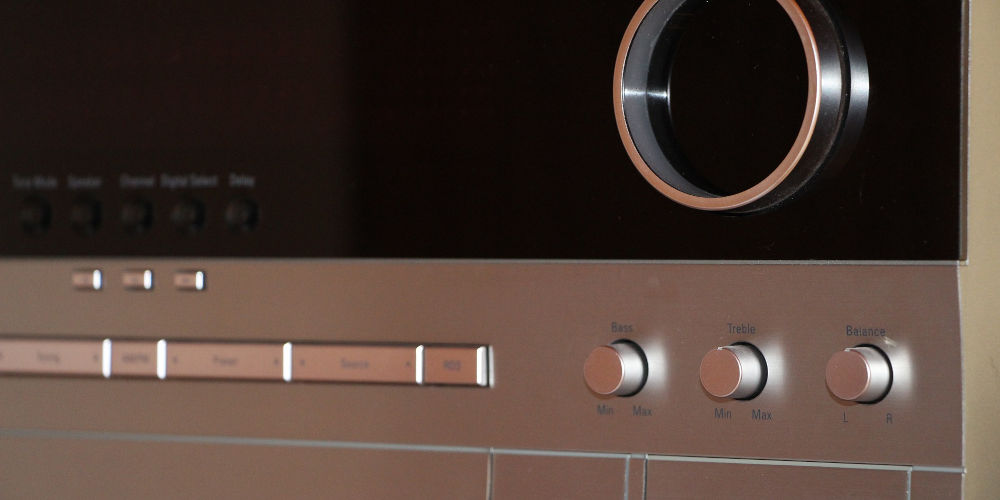
Speaker calibration
An important step in the set up process is speaker calibration. Most receivers, during the initial set up, will auto-calibration to fine-tune the sound.
In auto-calibration, the receiver sends test tones to a microphone placed at your seating location. It then automatically adjusts the volume and timing of the sound coming from each speaker. You get perfectly balanced and time-aligned surround sound.
Network set up
If you haven’t already completed the network or Wi-Fi set up, do it now. It’s as simple as connecting an Ethernet cable between your router and receiver or connecting to your Wi-Fi. It takes about a minute to get the internet working.
Next, download and apply any firmware updates. You might find that doing this add more functions to your unit or at least plugs some bugs found by other users. It’s worth periodically checking for updates.
Remote controls
With your system working, think about how you want to control it. You don’t always want to have a pile of remote controls next to you, especially if they each have a million buttons. You should be able to control your AV receiver using an app from your phone or tablet. Most people find that apps are far easier to use than remotes!
Also using an app could allow you control over lights, blinds and more. You might end up needing a single app rather than several remotes. You might want to read our guides to home cinema apps and automating your media room.
Tame your wires!
Keep the cables and wires behind your receiver from getting tangled with cable wraps or wire ties. It’s worth the time and effort to keep them neat!
After you’ve set up an AV receiver
Now you know how to set up an AV receiver, you can sit back and enjoy your home cinema room with a movie, sports or gaming. Yes, the process of getting your unit wired in and set up is quite involved but well worth the time.