How can we use the Fibaro RGBW Controller 2?
- By: Ashley Saunders | Fibaro
- PUBLISHED: 24th July 2022 | LAST UPDATE: 21st March 2023
Controlling LED lighting in your home can be a challenge. They might have a million and one options, but you shouldn’t need to use multiple apps or remotes to control them. Thankfully, the Fibaro RGBW Controller 2 makes operating your home’s LED lighting super easy.
Identical in size to the Fibaro Dimmer 2, this tiny module sits in the existing backbox. As a Z-Wave Plus device, it allows wireless control of LEDs with an infinite range of colour options. You can easily switch lights on/off, dim them and change the colour.
But that’s not all. The Fibaro RGBW Controller 2 allows you to monitor and analyse energy usage, ensuring you’re not wasting money needlessly. Let’s look at this Z-Wave device in more detail and see how we can use it within our home.
What is the Fibaro RGBW Controller 2?
Beneath the tiny shell of the Fibaro RGBW Controller 2 is an advanced universal, Z-Wave Plus compatible RGB/RGBW controller. It can control LED, RGB, RGBW strips, halogen lights and other resistive loads, powered by 12 or 24V DC.
When active, it can also measure active power and energy consumed by the load. You can use it with momentary/toggle switches or 0-10V analogue sensors, like temperature sensors, humidity sensors, light sensors etc.
While you probably understand the RGB part, the W might be something new to you. The W letter represents the white light channel. Combining RGBW, allows you to create an even wider range of colours, including pastel tones.
One of the big problems with LED light strips is finding the ideal colour takes time. You might want to change the colour from white to light red, but you either have to navigate an app or adjust the colour in the moment.
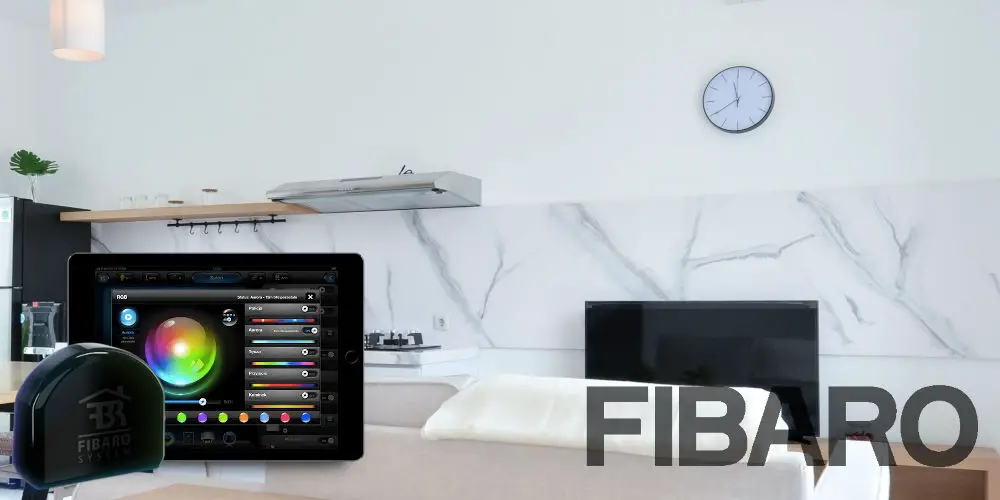
By using the Fibaro app with the RGBW controller 2, you can easily operate your LED strips and more. You can adjust the colour using the app without flicking between multiple apps. When you find the ideal hue, you can add it to scenes for easy recall.
Just imagine in your kitchen being able to switch from a day scene with white light, to a night scene which plays your favourite music, and the lights change to an ocean blue hue. You’d be impressed! Not to mention, your home would react as you dreamed!
As a Z-Wave Plus device, the Fibaro RGBW controller 2 benefits from improved range, OTA (over-the-air) upgrades, better security, and more. As mains powered Z-Wave device, it also acts as a repeater, bolstering your network.

photo by Fibaro
Will you need a Z-Wave or Fibaro hub?
You’ll need a Z-Wave hub or gateway for the Fibaro RGBW Controller 2 to work. You don’t have to use a Fibaro Home Center hub as plenty of Z-Wave gateways are available. However, using one ensures the best performance and options.
For example, SmartThings is compatible with Z-Wave and Zigbee. So, if you already have a Samsung SmartThings hub (either a stand-alone gateway or built-in to an appliance) installed in your home, this light controller device will work with your system.
Can you install it yourself?
Installing the Fibaro RGBW module requires rewiring your current light switch. So, you need to be competent with electrics or hire someone who is. It’s not worth the risk of trying to install it, especially as electrics can be deadly.
Unlike most Fibaro devices that are plug-in and play, such as the Smoke Sensor, The Button and Motion Sensor, this lighting module isn’t.
Before attempting to install this device, turn off the power to your lights at the mains fuse box. Next, try to turn a light on to see if it still has power. If it doesn’t light up, you’re fine. Otherwise, you’ll want to re-inspect your mains fuse box and try another switch.
With the power safely turned off, you can remove the light switch from the wall and start to wire in the Fibaro RGBW Controller 2. The manual offers 5 different wiring diagrams, covering a range of situations.
We’re adding this device in our kitchen using a cheap LED strip. So, we can stick to the simplest wiring option. We still need a small length of 2-core wire to add the dimmer module to the circuit. With the wires correctly installed, it’s time to switch the power back on.
The calibration process takes about 30 seconds, and your light might blink during the process. When successfully calibrated, the device switches off by default. Next, add the device to your Z-Wave network.
At this point, turn off the mains again, position the device and its antenna in the backbox and screw the light switch back in place. While you might be tempted to skip turning off the power, you could get a shock. So, spend the extra few seconds to ensure your safety.
We recommend replacing the standard 1-gang 2-way light switch with a retractive one as this type allows you to dim your LED strips. That said, you don’t need to use a local light switch if you will only control it using the app or a scene controller.
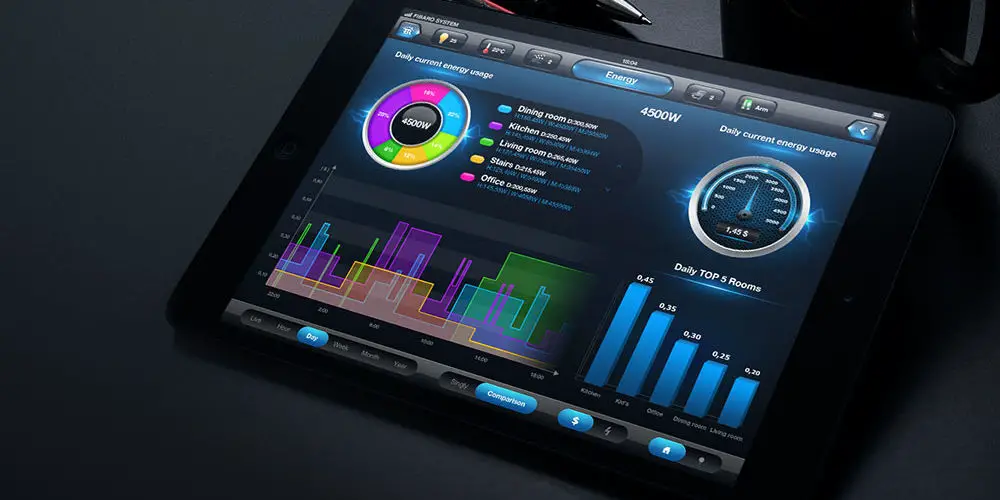
photo by Fibaro
How can you use this Fibaro device?
Depending on the load and the mode, you can use the Fibaro RGBW Controller 2 in several different ways. As you can control everything in the app, you can easily operate whatever light you’re using and adjust the colour without hassle.
Control RGBW Led strips, single LED lights and more using these devices. Plus, as you can control up to 4 single lights, they are very cost effective. Another benefit is their tiny size, it means you don’t need to waste time, effort and money on installing new, deeper backboxes.
If you’re using a Fibaro Home Center, you can add these modules into automations, scenes and control them directly from the app. Easily change the colour or dim lights in a few taps.
With other Z-Wave systems, you’ll still have superior control options, including dimming and hue selecting, but not as wide as with the Fibaro system or app. So, you might want to upgrade your gateway to the HC3 Lite for the best experience.
photo by Fibaro
Should you add the Fibaro RGBW Controller 2 to your Z-Wave smart home?
If you’re looking for better control over your LED strips or LED RGB lights, you’ll want to invest in a few Fibaro RGBW Controller 2 modules. They are superb devices that are easy to set up and programme.
As you’re dealing with electrics, you either want to know what you’re doing or hire someone that does. It’s not worth the risk. You’ll also need to supply additional cables as the box only includes the module.
Being a Z-Wave device, it works with plenty of systems from Fibaro, SmartThings, HomeSeer, or a Z-Wave Raspberry PI, allowing you to build your dream home automation system regardless of the budget you have.
While you might be able to find cheaper options, none are as advanced as the Fibaro RGBW Controller 2 module.